| Step 1
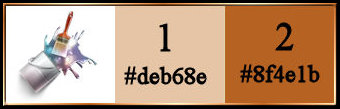
1. Colors used: Foreground #deb68e (color 1) -
Background #8f4e1b (color 2)
Open a new image measuring 1000x750px
Selections / Select all
Copy the image [fond_ecole]
Paste into the selection
Select none
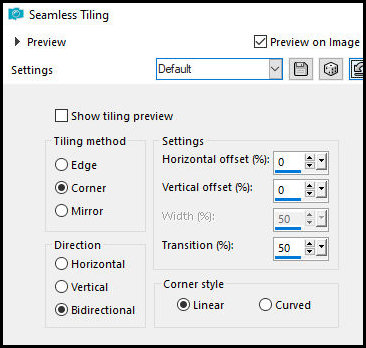
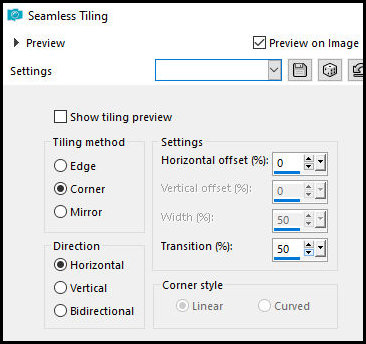
Effects / Image Effects / Seamless Tiling - default
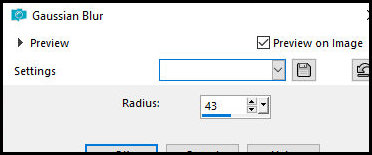
Adjust / Blur / Gaussian Blur: 43
Step 2
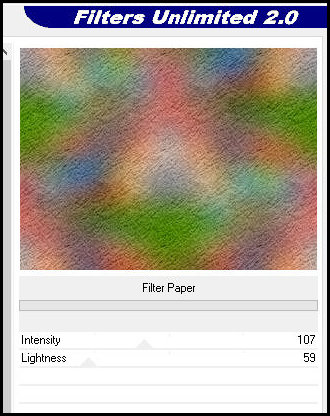
Effects / plugins / Unlimited 2 / Paper Textures /
Filter Paper
Add a new layer
Paint with the foreground color
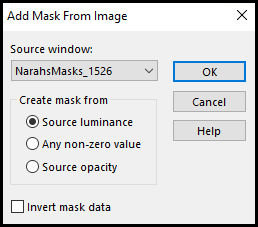
Layers / New mask Layer / From Image / Mask
[NarahsMasks_1526]
Merge Group
Step 3
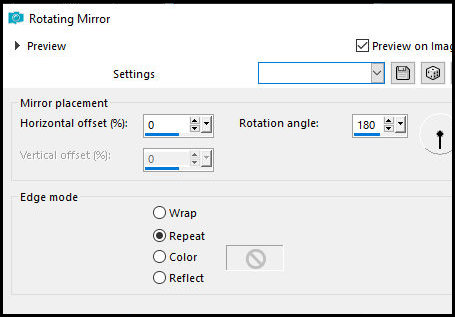
Effects / Reflection Effects / Rotating Mirror
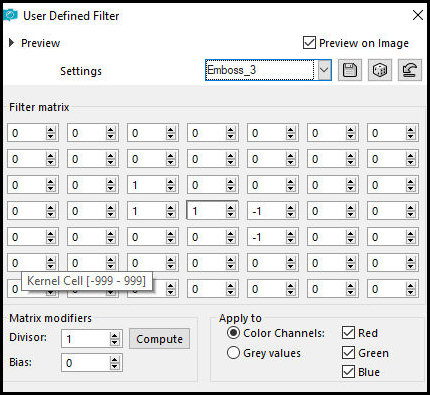
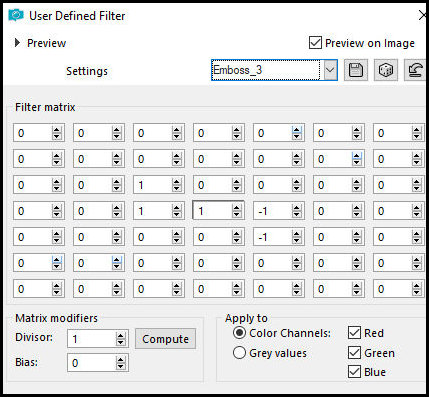
Effects / User Defined Filter / Emboss 3
Drop Shadow: 0 0 50 10 black
Step 4
Add new layer
Paint with the background color
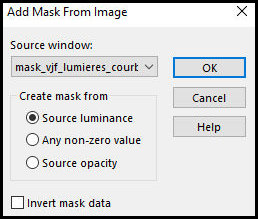
Layers / New Mask Layer / From Image / Mask [mask_vjf_lumieres_courbes]
Merge Group
Effects / user defined filter / emboss 3
Drop Shadow: 0 0 50 5 black
Step 5
Merge Visible
Layers/Duplicate
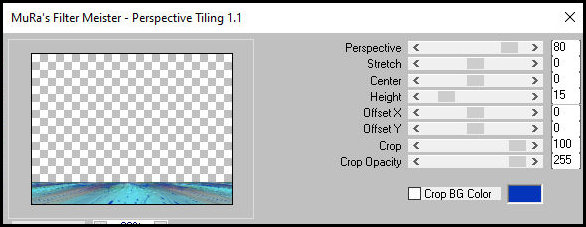
Effects / Plugins / Mura's meister / Perspective Tiling
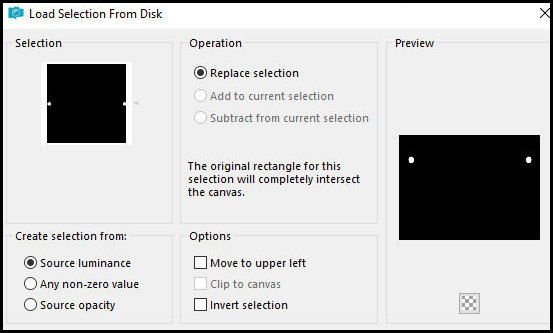
Selections / Load selection from disk Selection
[barbara1]

Press Delete 3 times
Select none
Effects / Image Effects / Seamless Tiling
Drop Shadow: 0 10 50 10 color background
Effects / Edge Effects / Enhance
Step 6
Copy the tube [deco 1]
Paste as new layer
Objects/Align/Top
Layers / Arrange / Move Down
Activate the layer above
Add new layer
Selections / Load selection from disk / Selection
[barbara2]
Paint with color 2 #8f4e1b
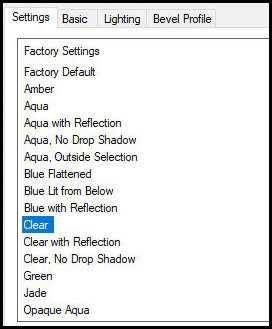
Effects / Plugins / Eye Candy 5:Impact / Glass - preset
[clear] - default
Select none
Step 7
Copy the tube [deco 2]
Paste as new layer
Objects/Align/Top
Copy the tube [misted_ecole]
Paste as new layer
Objects/Align/Top
Adjust/Sharpness/Sharpen
Copy the tube [pendule]
Position it high according to the model
Step 8
Copy the tube [fillette cloclo]
Paste as new layer
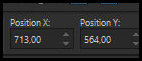
Activate the pick tool and set: X=713 Y=564 - Press M
Step 9
Copy the tube [fillette cloclo1]
Paste as a new layer
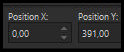
Activate the Pick Tool and set: X=0 Y=391 - Press M
Drop shadow: 2 2 50 10 black - Apply to both children
Step 10
Borders:
3px / #deb68e
1px / #8f4e1b
Copy and paste as a new layer
Minimize
Return to your working image
Selections / Select all
Border
15px / white
Selections / invert
Paste the minimized image into the selection
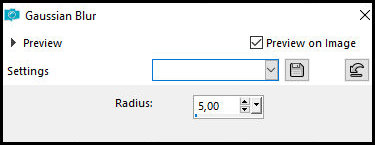
Adjust / Blur / Gaussian Blur: 5
Step 11
Effects / Reflection Effects / Kaleidoscope

Adjust / Sharpness / Sharpen
Select none
Step 12
Borders
1px / #deb68e
3px / #8f4e1b
1px / #deb68e
Selections / Select all
Border
45px / white
Selections / invert
Paste the minimized image into the selection
Effects / plugins / Graphic Plus / Cross Shadow -
Default

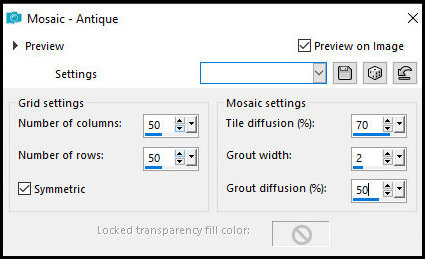
Effects / Texture Effects / Mosaic Antique
Adjust / Sharpness / Sharpen
Select none
Step 13
Border
2px / #8f4e1b
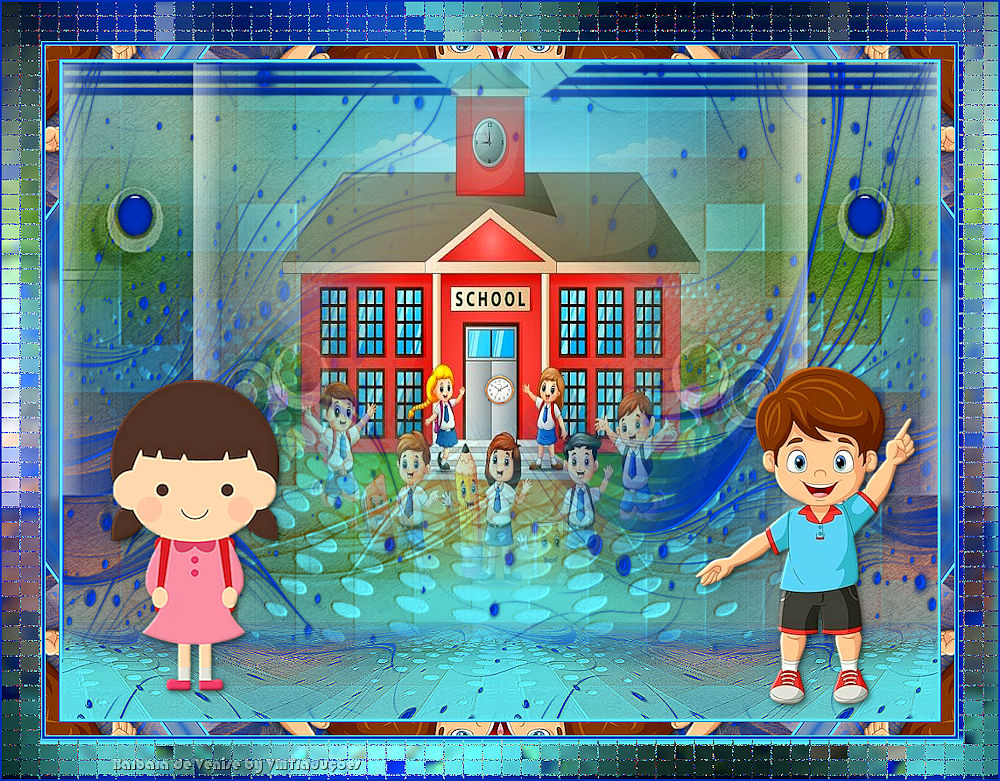
Place the signatures
Image / Resize: 1000px (width) - all layers checked
Copy the tube [deco coin]
Paste as a new layer
No need to move
Merge all
Save as a jpeg
|