|
1. You will need a main tube and a
wordart. If you want, use the tubes I used:
here
2. Choose two colors from your tube: a dark one for the
foreground and a light one for the background and paint
the image with one of them
2a. Open the background [background_activity]
2b. Colorize according to the chosen colors (dark color
in the central strip and light color on the sides) (Use
a change color)
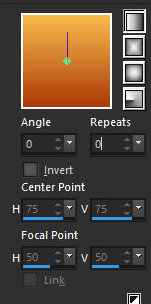
3. Prepare a Linear gradient
4. Add a new layer
5. Paint with the gradient
6. Layers - New mask layer - From
Image - Mask [Mask 04]
7. Merge Group
8. Drop Shadow of your choice
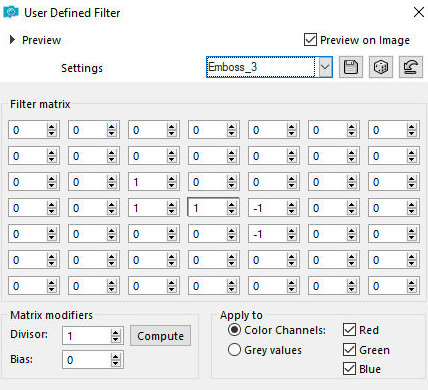
9. Effects - User Defined Filter -
Emboss 3
10. Image - Resize: 85% - all layers
unchecked
11. Drop Shadow of your choice
12. Add a new layer
13. Paint with the foreground color
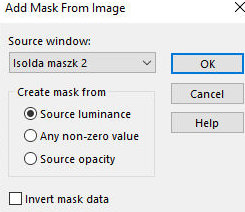
14. Layers - New mask layer - From
Image - Mask [isolda Maszk 2]
15. Merge Group
16. Image - Mirror - Mirror Horizontal
17. Image - Resize: 85% - all layers
unchecked
18. Layers - Properties - Opacity=65%
19. Effects - User Defined Filter -
Emboss 3
20. Copy your main tube and paste it
as a new layer
21. Adjust the size
22. Position it according to the model or as you prefer
22b. Apply a Drop Shadow of your choice
23. Apply decos of your choice
24. Apply wordart or type the text of your choice
24. Position it according to the model or as you prefer
25. Image - Add borders - 2px - foreground color
26. Image - Add borders -2px - background color
27. Image - Add borders - 2px - foreground color
28. Image - Add borders - 20px - white
29. Select this border with the Magic Wand - Tolerance/Feather=0
30. Drop Shadow of your choice
31. Repeat the Drop Shadow with negative V and H
31b. Image - Add borders - 10px - foreground color
31c. Image - Add borders -5px - black
32. Select none
33. Place signatures
34. Merge all
35. Save as jpeg |