|
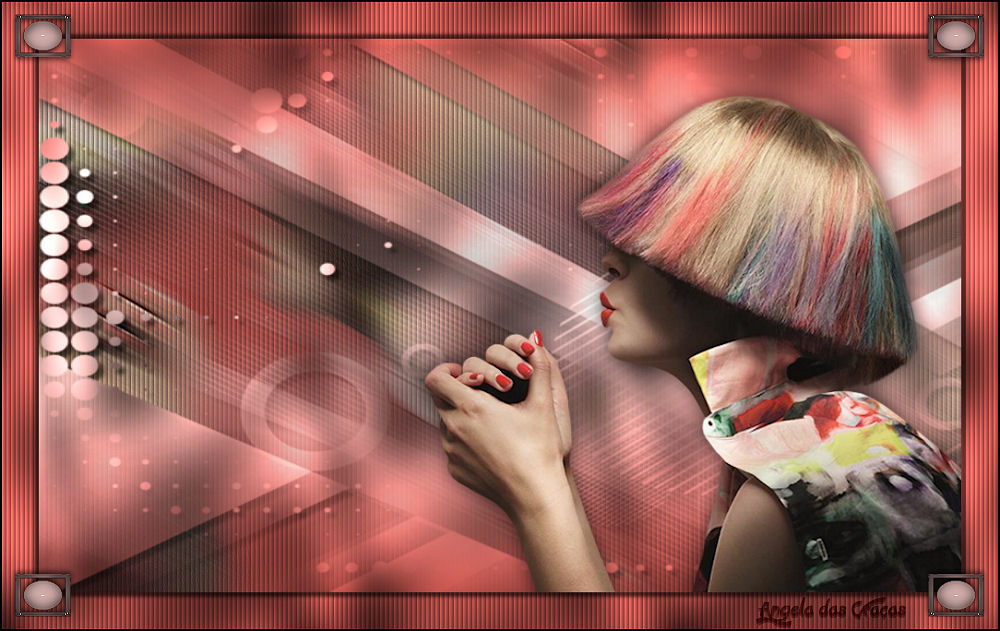
(imagem original de Angela das Graças)
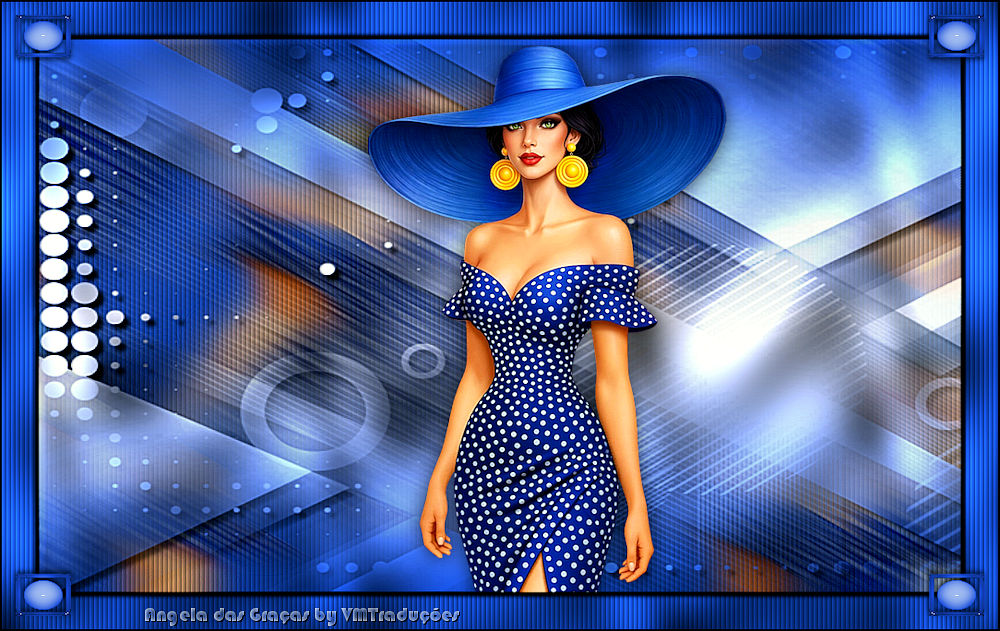
(minha versão)

This tutorial is from Angela das Graças who I thank for
letting me translate their tutorials.

Original here
Tubes

Material

Plugins
Graphic Plus
You can find these plugins on the websites of:
Renée
Cloclo
You can also find this tutorial translated into these languages:
(Click on the flag)


|
Notes:
> Open the material / Duplicate (shift+d) / Close the originals
> Change the blend mode of the layers to match their colors.
> In older versions of PSP, Mirror Horizontal=Mirror / Mirror Vertical=Flip /
Pick tool=deformation
> Open the masks in psp and
minimize
>Adjust the size of the tubes according to your images
|
SCRIPT
1. Open the PSP and a tube.
2. Take two colors from the tube, place the darker one in the
foreground and the lighter one in the background.
3. Copy the tubes and minimize. Close the original
4. Open a new transparent image with 1000x600px and paint it with
the dark color
5. Selections - Select all
6. Copy the tube and paste it into the selection
7. Select none
8. Effects - Image Effects - Seamless Tiling - default
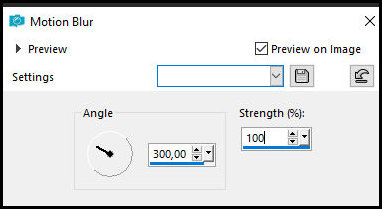
9. Adjust - Blur - Motion Blur - apply 2 times
PRINT
10. Effects - User Defined Filter - Emboss 3
11. Effects - Edges Effects - Enhance More
12. Effects - Texture Effects - Blinds -: black
PRINT
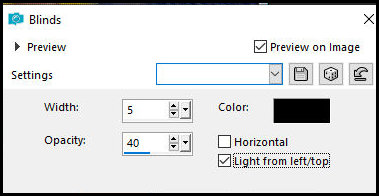
13. Add a new layer
14. Prepare a Linear gradient e pinte a layer com ele
PRINT
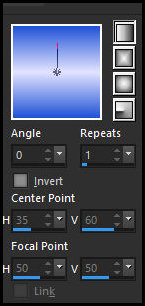
15. Layers - New Mask Layer - From Image - Mask [LF-Mask-118]
16. Merge group
17. Drop shadow: 6 6 100 6.00 black
18. Effects - Plugins - Graphic Plus - Cross Shadow
PRINT
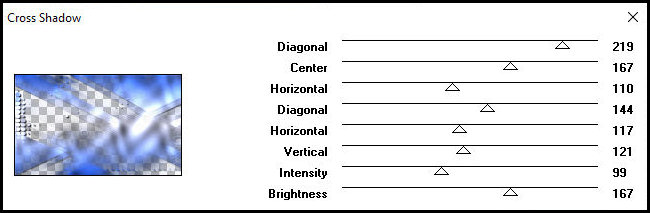
19. Adjust - Sharpness - Sharpen More
20. Copy the character tube and paste it as a new layer
21. Adjust the size and position as desired
22. Drop Shadow of your choice
23. Image - Add borders - 40px - dark color
24. Select this 40px border with the Magic Wand (tolerance/feather=0)
25. Effects - Texture Effects - Blinds - black color - igual
anterior
26. Selections - Invert
27. Drop shadow: 5 5 100 5 black - Repeat the Drop shadow with
negative V and H
28. Selections - Invert
29. Effects - Plugins - Graphic Plus - Cross Shadow - igual anterior
Select none
30. Image - Add borders: 2px - black
31. Copy [deco-extravagante] and paste as a new layer
32. Colorize according to your tag
33. Merge all
34. Image - Resize: 1000px (width) (optional)
35. Add credits
Save as jpeg

|