|
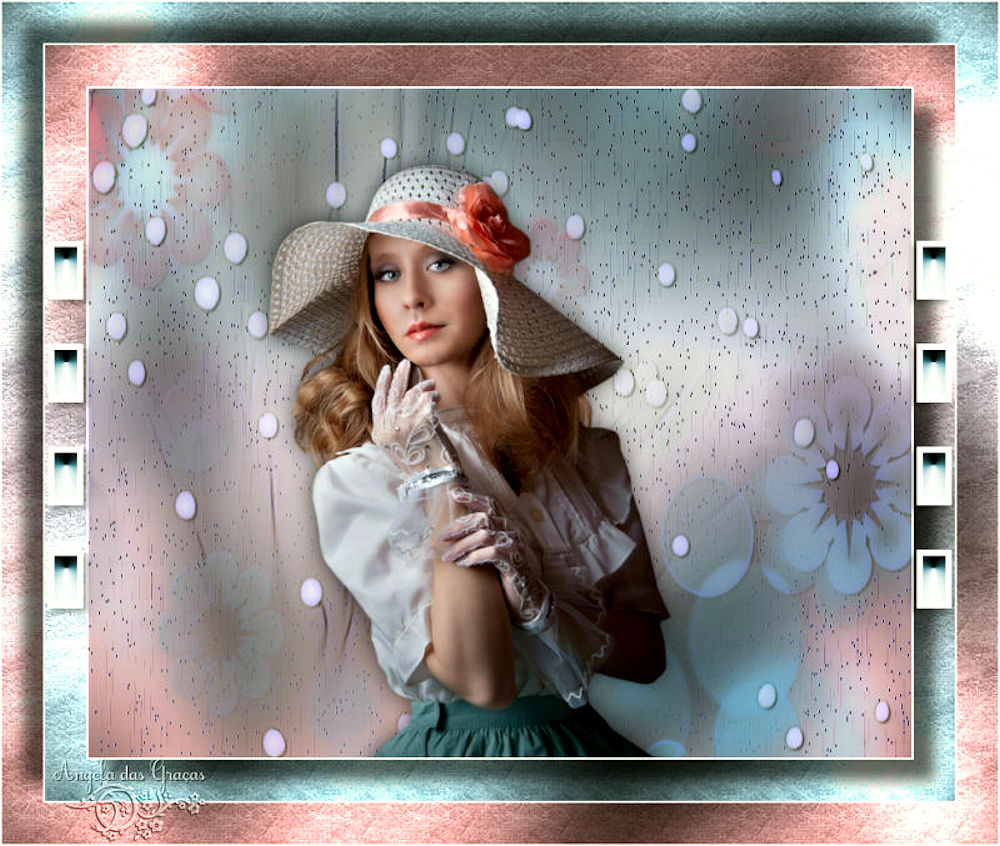
(imagem original de Angela)
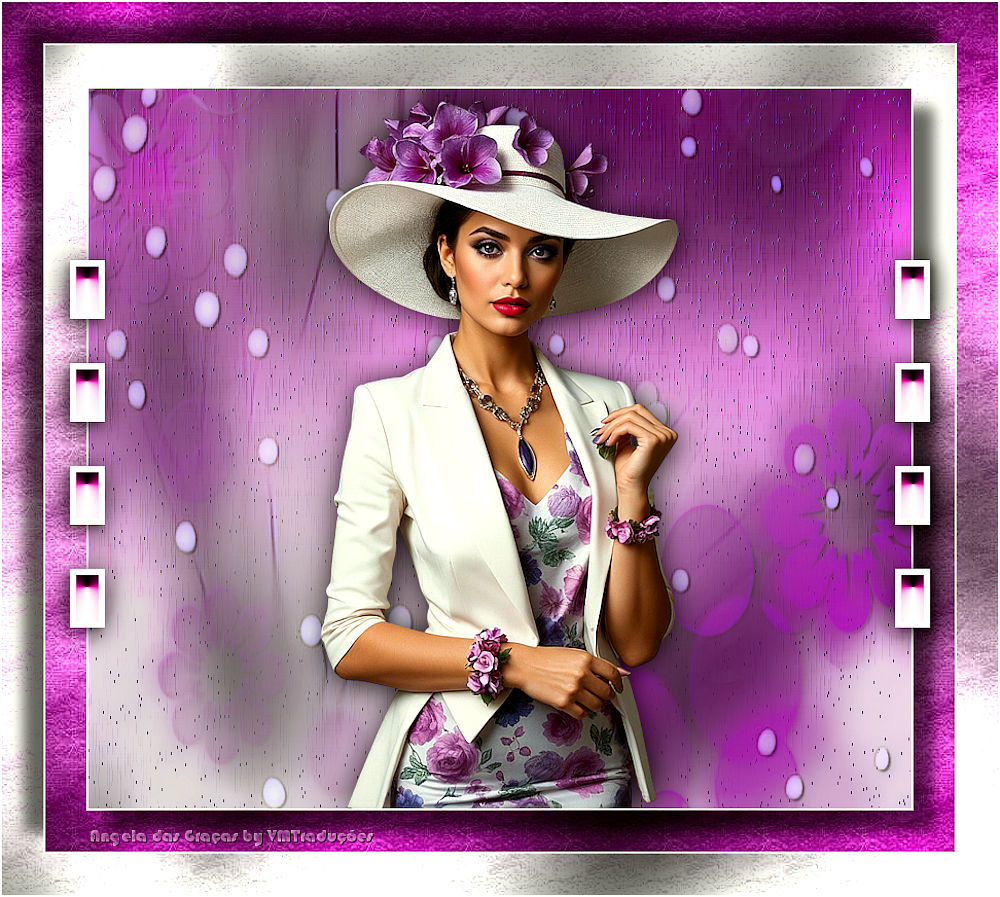
(minha versão)

This tutorial is from Angela das Graças who I thank for
letting me translate their tutorials.

Original here
Tubes

Material

Plugins
Nik Software - Graphic plus - Xero
- Unlimited 2
You can find these plugins on the websites of:
Renée
Cloclo
You can also find this tutorial translated into these languages:
(Click on the flag)


|
Notes:
> Open the material / Duplicate (shift+d) / Close the originals
> Change the blend mode of the layers to match their colors.
> In older versions of PSP, Mirror Horizontal=Mirror / Mirror Vertical=Flip /
Pick tool=deformation
> Open the masks in psp and
minimize
>Adjust the size of the tubes according to your images
|
SCRIPT
Images:
1 female tube
***
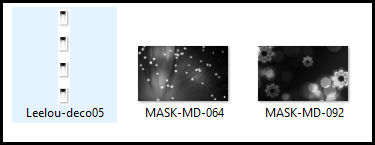
Material
***
My images
***
Step 1
Choose two colors from your tube: a dark color for the foreground
and a light color for the background. Prepare a linear gradient.
PRINT
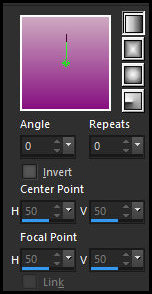
Open a new transparent image with 800x700px.
Paint with the gradient.
Layers - New Mask layer - From image - Mask [MD-092]
Step 2.
Merge group.
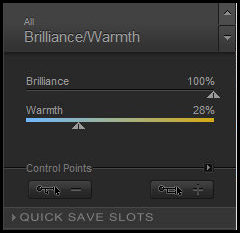
Effects - Plugins - Nik Software - Color Effex Pro - Brilliance -
Warmth.
PRINT
Drop shadow: 2 2 60 2 black.
Add a new layer.
Paint the layer with white or another light color of your choice.
Step 3.
Layers - New Mask Layer - From Image - Mask [MD 064]
Merge group.
Drop shadow: 2 2 60 2 black.
Adjust - Sharpness - Sharpen more.
Add a new layer.
Step 4.
Layers - Arrange - Send to bottom.
Paint with the initial gradient, but with Invert marked
Effects - Texture Effects - Straw Wall
PRINT
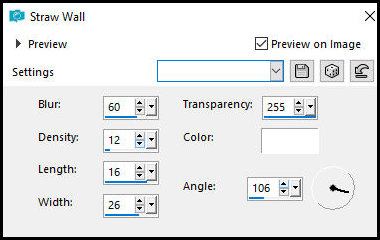
Effects - Plugins - Graphic Plus - Cross Shadow
PRINT
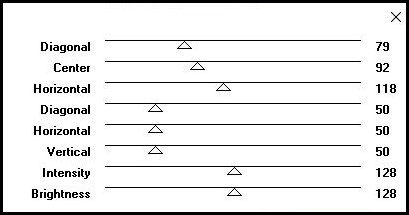
Merge visible
Step 5
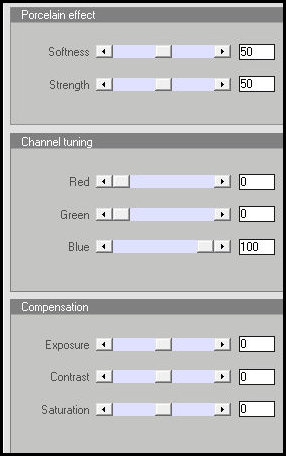
Effects - plugins - Xero - Porcelain - default or as preferred - 2
times
PRINT
Copy the main tube
Paste as a new layer
Position as preferred
Drop Shadow of your choice
Step 6
Image - Add borders - 2px - white or another color of your choice
Image - Add borders - 40px - any color
Select this 40px border with the Magic Wand (tolerance/feather=0)
Paint with the initial gradient
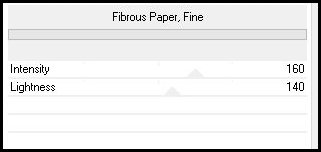
Effects - Plugins - Unlimited 2 - Paper Textures - Fibrous Paper,
Fine
PRINTS
Step 7
Effects - Plugins - Graphic Plus - Cross shadow - same the previous
Selections - invert
Drop Shadow: 20 20 60 20 black
Select none
Step 7
Image - Add borders - 2px - same color used above
Step 8
Image - Add borders - 40px - any color
Select this 40px border with the Magic Wand
Paint with the initial gradient with invert checked
Effects - Plugins - Unlimited 2 - Paper Textures - Fibrous Paper,
Fine - same as above
Effects - Plugins - Graphic plus - Cross Shadow - same as above
Step 9
Selections - Invert
Drop Shadow: (-20) (-20) 60 20 black
Select none
Image - Add borders - 2px - same color used above
Copy [Leelou-deco05]
Step 10
Paste as a new layer
Effects - Image Effects - Offset [425/0]
Colorize according to your work
Drop Shadow of your choice
Layers - Duplicate
Step 11
Image - Mirror Horizontal
Merge visible
Add credits
Merge all
Save as jpeg

|