|
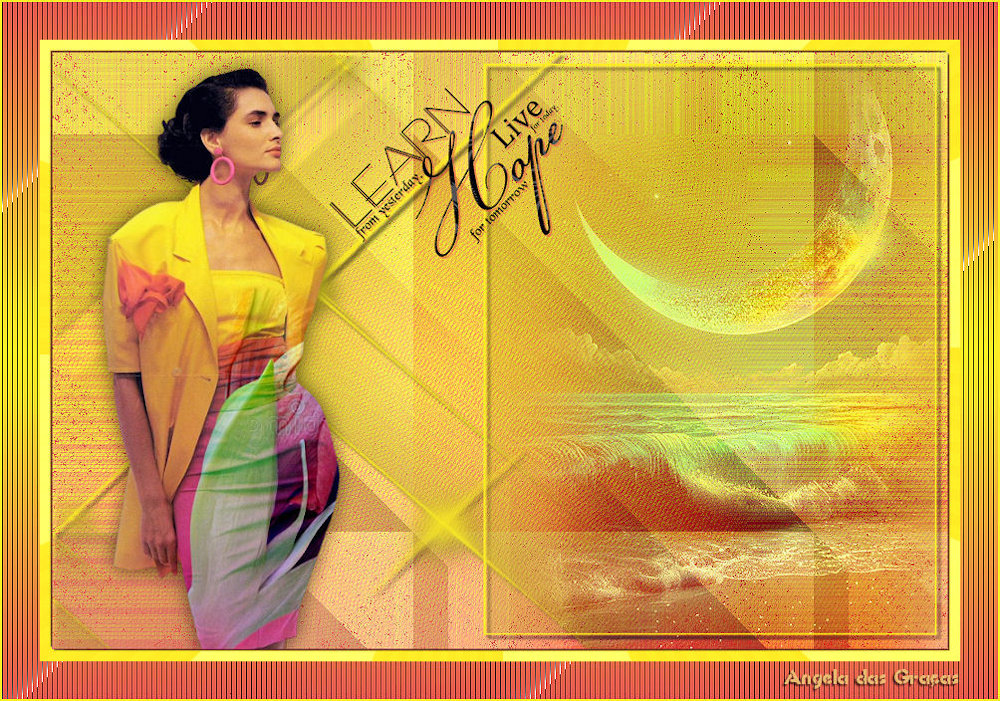
(imagem original de Angela das
Graças)
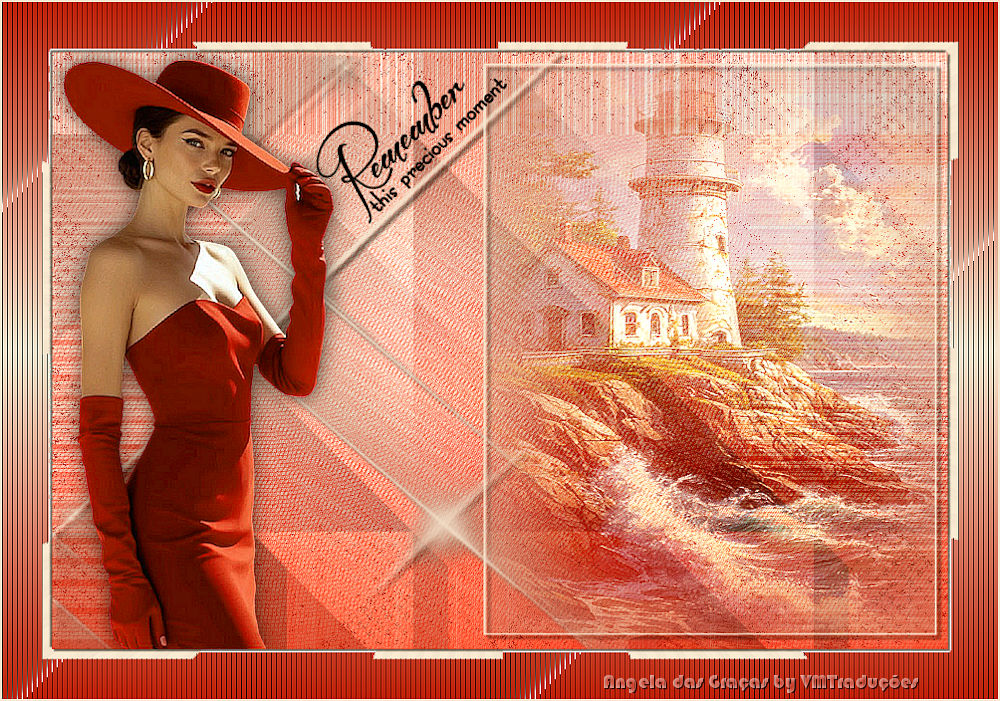
(minha versão)

This tutorial is from Angela das Graças who I thank for
letting me translate their tutorials.

Original here
Tubes

Material

Plugins
Tramages - Italian Editors Effects
You can find these plugins on the websites of:
Renée
Cloclo
You can also find this tutorial translated into these languages:
(Click on the flag)


|
Notes:
> Open the material / Duplicate (shift+d) / Close the originals
> Change the blend mode of the layers to match their colors.
> In older versions of PSP, Mirror Horizontal=Mirror / Mirror Vertical=Flip /
Pick tool=deformation
> Open the masks in psp and
minimize
>Adjust the size of the tubes according to your images
|
SCRIPT
1. Open PSP and the tube
2. Copy the tube - paste as a new image - close the original -
minimize
3. Take two colors from your tube: place the dark color on the fog
ground and the light color on the background
Prepare a Linear gradient
PRINT
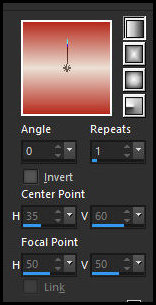
4. Open a new transparent image with 900x600px and paint with the
gradient
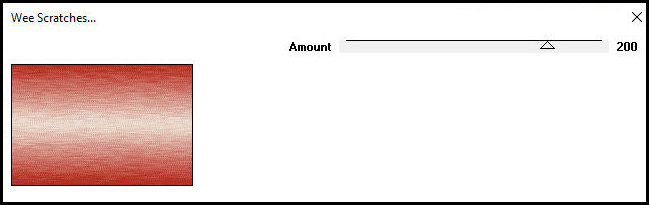
5. Effects - Plugins - Tramages - Wee Scratches
PRINT
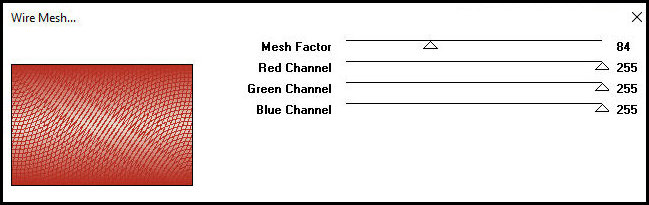
6. Effects - Plugins - Tramages - Wire Mesh
PRINT
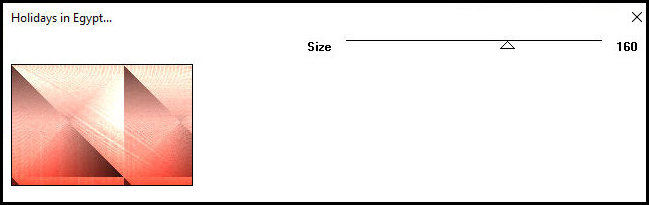
7. Effects - Plugins - Tramages - Holidays in Egypt
PRINT
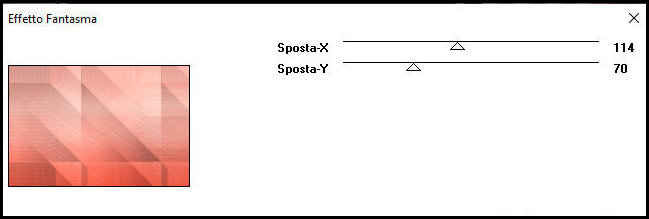
8. Effects - plugins - Italian Editors Effects - Effetto Fantasm
PRINT
9. Add a new layer
10. Paint with the dark color
11. Layers - New mask Layer - From Image - Mask[TD TagMask146]
12. Merge group
13. Blend Mode: Dissolve - Layers - Duplicate
14. Add a new layer
15. Paint with the color Clara
16. Layers - New Mask Layer - From Image - Mask
[ckp7Xfnx4BmNEeKms11MeeBCheg]
17. Merge group
18. Drop Shadow: 4 4 60 4 black
19. Copy your misted landscape or floral tube
20. Paste as a new layer and position inside the mask rectangle (see
model)
21. Blend Mode: Overlay or another that matches your colors
22. Copy the main tube
23. Paste as a new layer and position to the left as per the model
24. Drop Shadow of your choice
25. Copy the Wordart and paste as a new layer (optional)
26. Image - Add borders - 10px - light color
27. Select this 10px border with the Magic Wand
28. Effects - plugins - Frames - Gradient Spokes Ratio Maker
PRINT
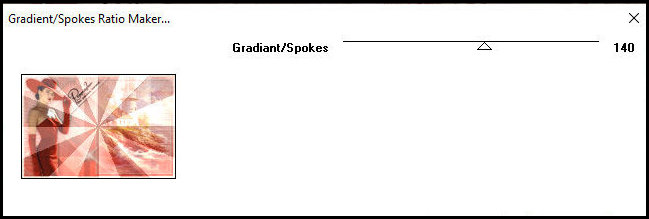
Selections - Invert
29. Drop Shadow: 2 2 60 2 black - Repeat with negative V and H
30. Select none
31. Image - Add borders - 40px - white
32. Select this 40px border with the Magic Wand and paint with the
gradient from the beginning
33. Effects - Plugins - Frames - Tow The Line
PRINT
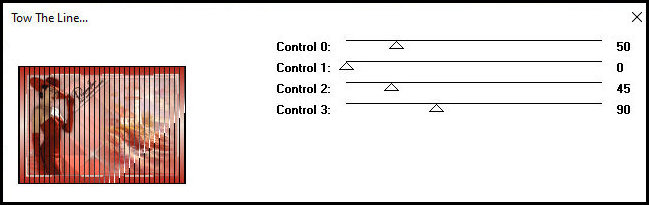
34. Select none
35. Image - Add borders - 2px - light color
36. Adjust - Sharpness - Sharpen
37. Add credits
38. Merge all
39. Save as jpeg

|