|


This tutorial is from Amparito Silva who I thank for
letting me translate their tutorials.

Original here


Tubes


Material

Many thanks to the creators of
these materials


Plugins
Flaming Pear / Flexify 2
Unlimited 2 / BKG Kaleidoscope

You can find these plugins on the websites of:
Renée
Cloclo

You can also find this tutorial translated into these languages:
(Click on the flag)


SCRIPT
Notes:
> Open the material / Duplicate (shift+d) / Close the originals
> Change the blend mode of the layers to match their colors.
> In older versions of PSP, Mirror Horizontal=Mirror / Mirror Vertical=Flip /
Pick tool=deformation
> Open the masks in psp and
minimize
>Adjust the size of the tubes according to your images
*
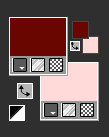
Colors:
Open a new transparent image measuring 900x600px
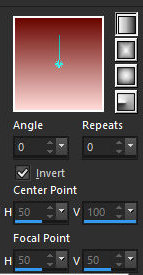
Paint with this Linear gradient:
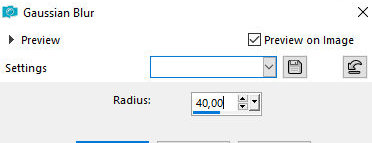
Adjust - Blur - Gaussian Blur: 40
Effects - Plugins - Unlimited 2 - BKG Kaleidoscope
- @Blue Perry Pie
Effects - image Effects - seamless Tiling
Effects - Edge Effects - Enhance
Effects - Image Effects - Seamless Tiling - Preset [side by side]
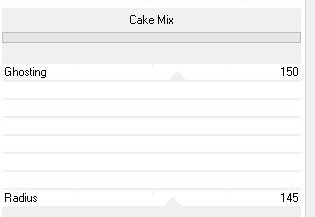
Effects - plugins - unlimited 2 - BKG Kaleidoscope
- Cake Mix
Effects - Texture Effects - Weave
Layers - Duplicate
Image - Resize: 80% - all layers unchecked
Effects - Plugins - unlimited 2 - Flaming Pear - Flexify2
Drop Shadow: 0 0 60 5 black
Copy [Asa._Deco .-I MISS YOU] - Paste as new layer
Position according to model
Copy [Tatayoyodu-56.-44OFrLDZoo] - Paste as new layer
Adjust size
Adjust - Hue and Saturation - Colorize (according to your colors)
Position according to model
Copy [Tube.- Tatayoyodu-56 .-ceHs6LFuQ] - Paste as new layer
Adjust size
Drop Shadow of your choice
Copy the wordart [WORD] - Paste as new layer
Add a border of your choice
Add signatures
Merge all
Save as jpeg
*
Thank you Irene for testing my translations


|
