|
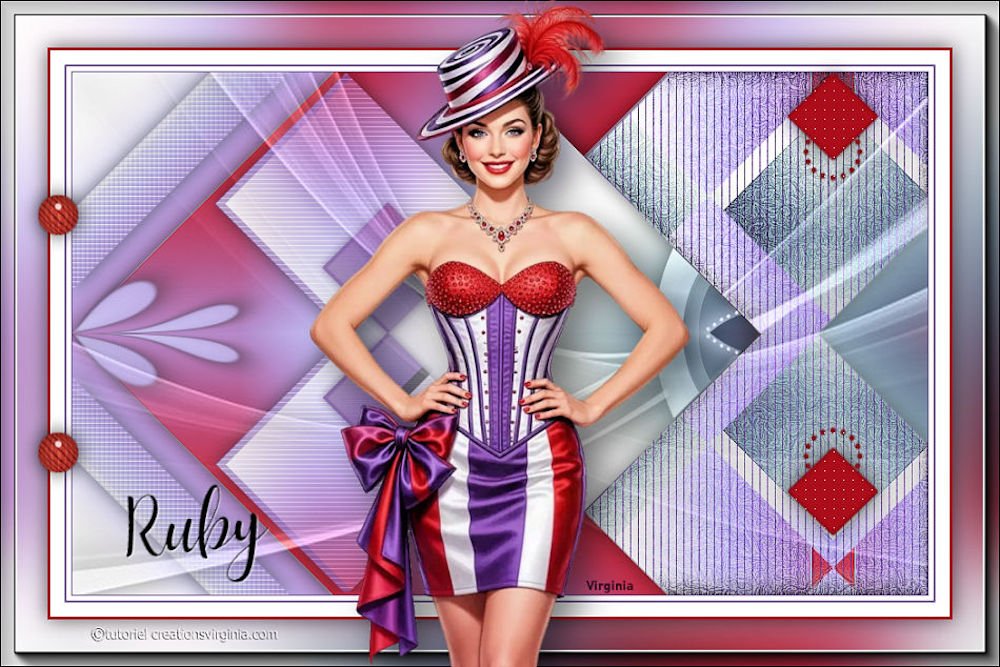
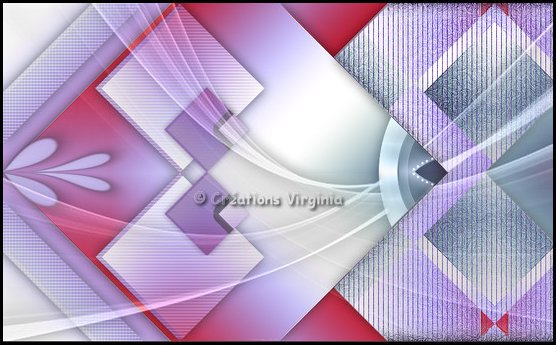
(imagem original de Virgínia)
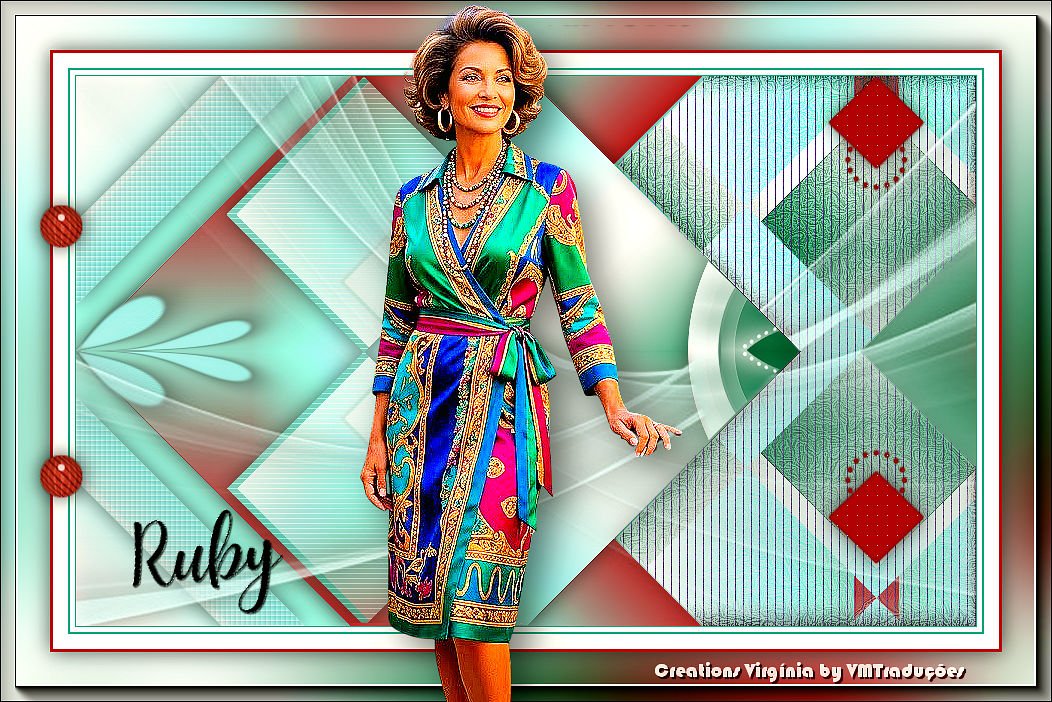
(minha versão)
Este tutorial é de Creations Virginia a quem agradeço por me deixar traduzir seus tutoriais.
Material
AAA Frames - Eye Candy 5: impact - AP[Lines] - Caroline & Sensibility - Flaming Pear - FM Tile Tools - Mehdi - Simple - Unlimited 2
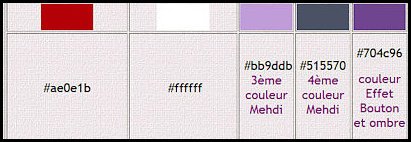
ROTEIRO Etapa 1 Cores: Foreground: #ae0e1b - Background: #ffffff
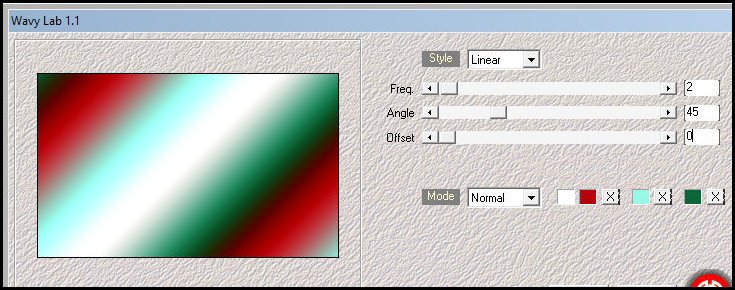
Abra uma nova imagem transparente com 900x550px Effects - Plugins - Mehdi - Wavy lab 1.1 Cores: #ffffff - #ae0e1b - #bb9ddb - #515570
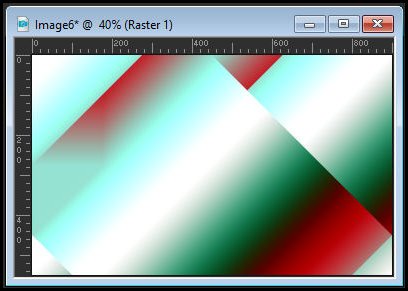
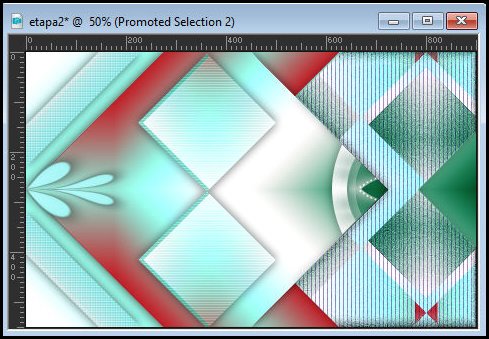
Etapa 2 Effects - Plugins - Simple - Blintz Repita o Blintz Resultado 1
Etapa 3 Copie a imagem Cole como nova imagem Por segurança salve essa nova imagem com o nome Fond para usar depois
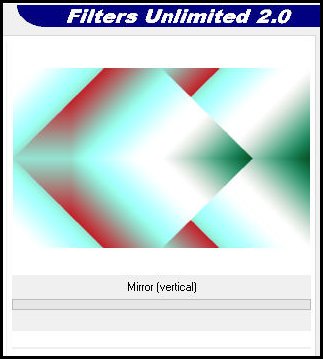
Etapa 4 Retorne à imagem principal Effects - Plugins - Unlimited 2 - Tile & Mirror - Mirror (Vertical)
Effects - Edge Effects - Enhance
Etapa 5 Selections - Load selection from disk - Selection [sel-01-ruby-vir] Selections - Promote selection to layer
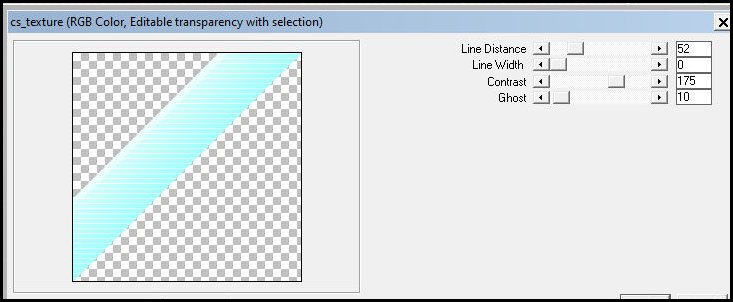
Etapa 6 Effects - Plugins - Carolaine & Sensibility - CS-Texture
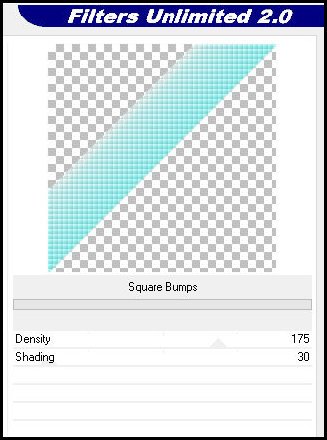
Effects Plugins - Unlimited 2 - Special Effects 1 - Square Bumps
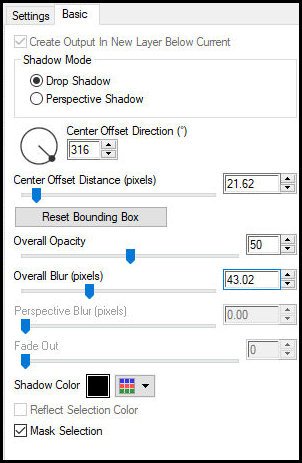
Observação: Se preferir colorize o resultado para ficar de acordo com suas cores Drop Shadow: 0 0 60 30 preto Select none
Etapa 7 Layers - Duplicate Image - Mirror - Mirror Vertical Merge down
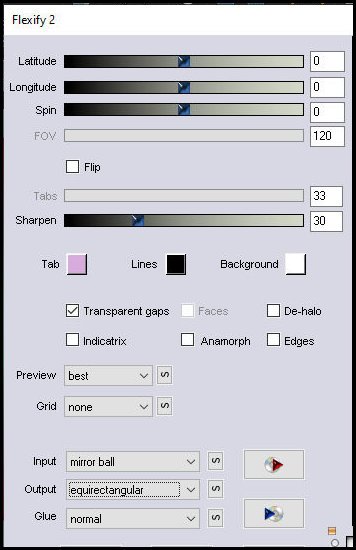
Etapa 8 Layers - Duplicate Effects - Plugins - Flaming Pear - Flexify 2
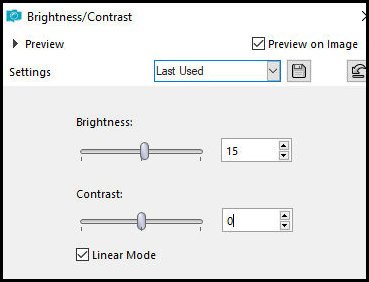
Etapa 9 Layers - Duplicate Effects - Plugins - Flaming Pear - Flexify 2 - igual anterior Merge down Adjust - Brightness and Controle - Brightness / control
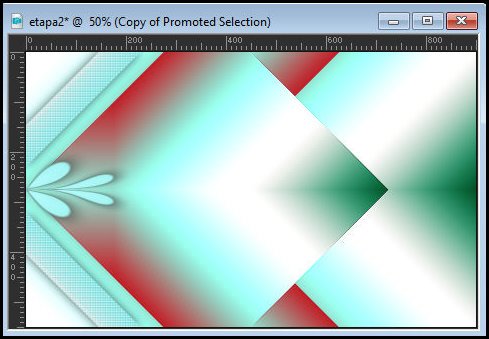
Resultado 2
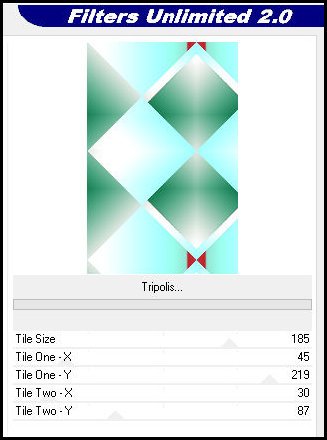
Etapa 10 Ative a layer de fundo - Raster 1 Selections - Load selection from disk - Selection [sel-02-ruby-vir] Effects - Plugins- unlimited 2 - VM Instant Art - Tripolis
Mantenha a seleção
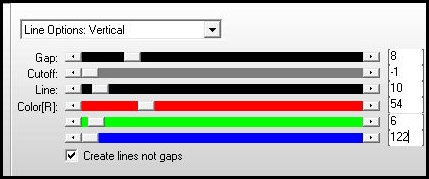
Etapa 11 Effects - plugins - AP [Lines] - Lines SilverLining
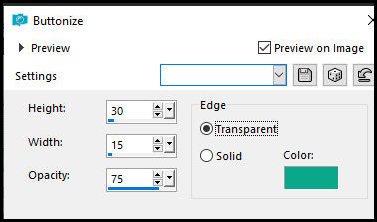
Effects - 3D Effects - Butonize
Drop shadow: 0 0 30 30 preto Mantenha a seleção
Etapa 12 Permaneça nesta camada (raster 1) Adicione nova layer Copie o tube [deco-01-ruby] Cole na seleção Blend mode: Soft light Effects - Edge Effects - Enhance more Select none
Etapa 13 Ative a layer de fundo - Raster 1 Selections - Load selection from disk - Selection [sel-03-ruby-vir] Selections - Promote selection to layer Drop Shadow: 0 0 60 30 preto Select none
Etapa 14 Permaneça na layer Promoted Selection 1 Copie o tube -deco-02-ruby] Cole como nova layer Effects - Image Effects - Offset [(-83/1] Drop Shadow: 0 0 50 30 preto
Etapa 15 Coloque a cor #704c96 no background Ative a layer Promoted Selection 1
Etapa 16 Selections - Load selection from disk - Selection [sel-04-ruby-vir] Selections - Promote selection to layer Layers - Arrange - Bring to top Mantenha a seleção
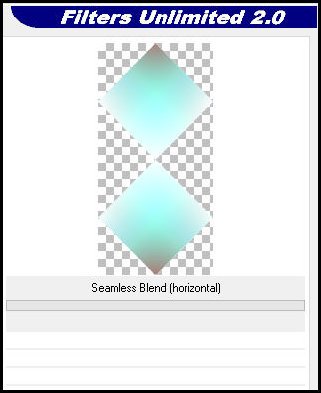
Etapa 17 Effects - Plugins - Unlimited 2 - Tile & Mirror - Seamless blend (Horizontal)
Select none
Etapa 18 Effects - Plugins - Carolaine & Sensibility - CS-Texture - default Drop Shadow: 0 0 60 30 preto Resultado 3
Etapa 19 Layers - Duplicate Image - Resize: 50% all layers desmarcado Effects -Plugins - unlimited 2 - Tile & Mirror - Seamless Blend (Horizontal)
Etapa 20 Merge down Effects - Image Effects - Offset [-74/3]
Etapa 21 Permaneça na layer superior Copie o tube [deco-03-ruby] Cole como nova layer Não precisa mover Drop shadow: 0 0 60 30 #704c96
Etapa 22 Merge all Resultado 4
Etapa 23 Image - Add borders: 1px - #704c96 5px - #ffffff 2px - #704c96 15px - #ffffff 3px - #ae0e1b
Etapa 24 Selections - Select all Image - Add borders - 50px - #ffffff Selections - Invert
Etapa 25 Abra a imagem Fond salva na Etapa 3 Copie e cole na seleção Adjust - Blur - Gaussian Blur: 45 Mantenha a seleção
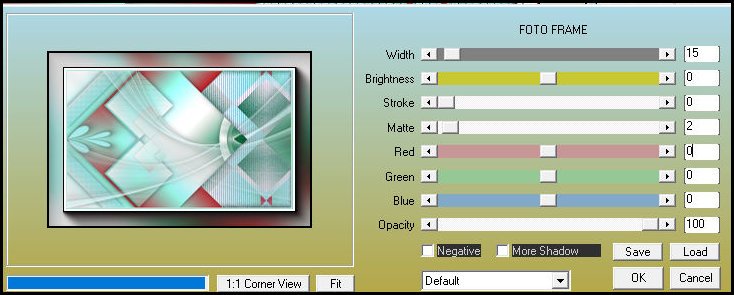
Etapa 26 Effects - Plugins - AAA Frames - Foto Frame
Selections - invert Drop shadow: 0 0 60 30 preto Select none
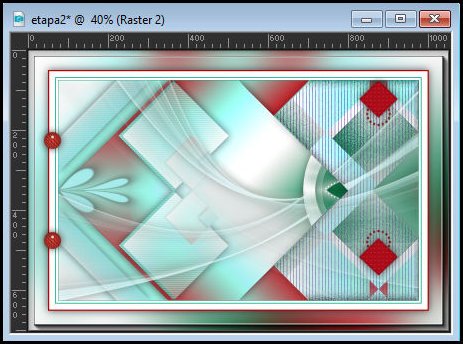
Etapa 27 Copie o tube [deco-04-ruby] Cole como nova layer Pick Tool (K) - X=19 - Y=58 Pressione M Resultado 5
Etapa 28 Copie o tube [ CV-Femme01-tutoriel- Ruby] Cole como nova layer Image - Resize: 85% - all layers desmarcado Effects - Image Effects - Offset [0/-5] Effects - Plugins - Eye Candy 5: Impact - Perspective Shadow - Preset [Drop Shadow, Blurry]
Etapa 29 Copie o tube [Ruby-Texte] Cole como nova layer Pick Tool (K) - X=132 - Y=508 Pressione M Drop Shadow: 1 1 50 1 preto Effects - Plugins - FM Tile Tools - Blend Emboss - default
Etapa 30 Coloque os créditos Adicione a assinatura de Virginia Blend Mode: Hard Light Merge all
Etapa 31 Redimensione para 950px (width) - all layers marcado Adjust - Sharpness - Unsharp Mask [1 50 10 marcado] Salve como jpeg
|