|
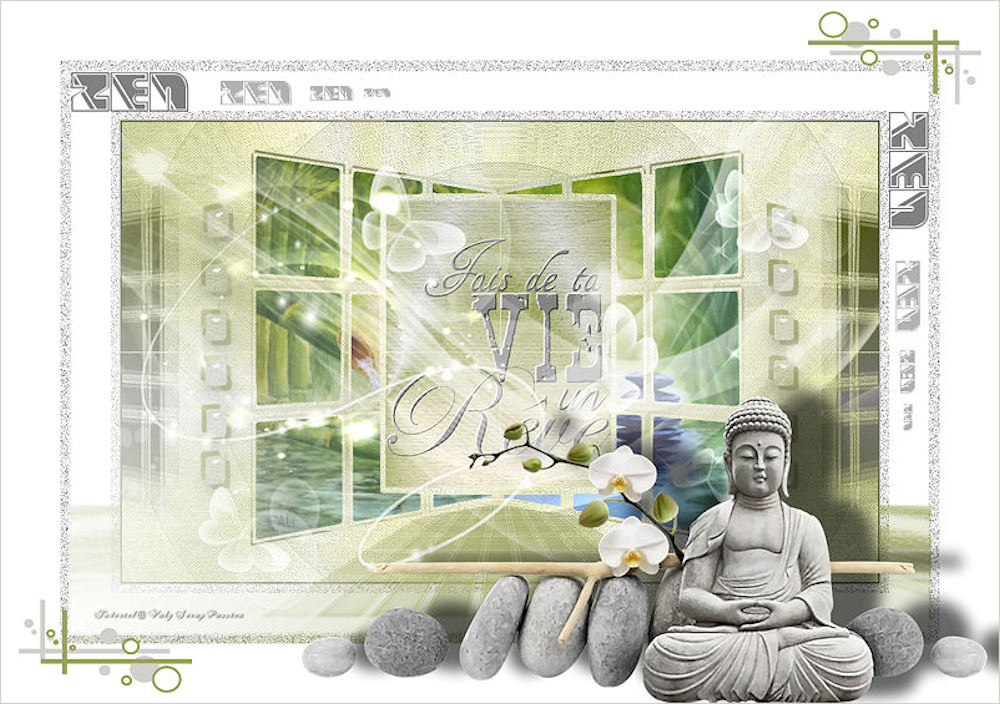
(imagem original de Valy Scrap)
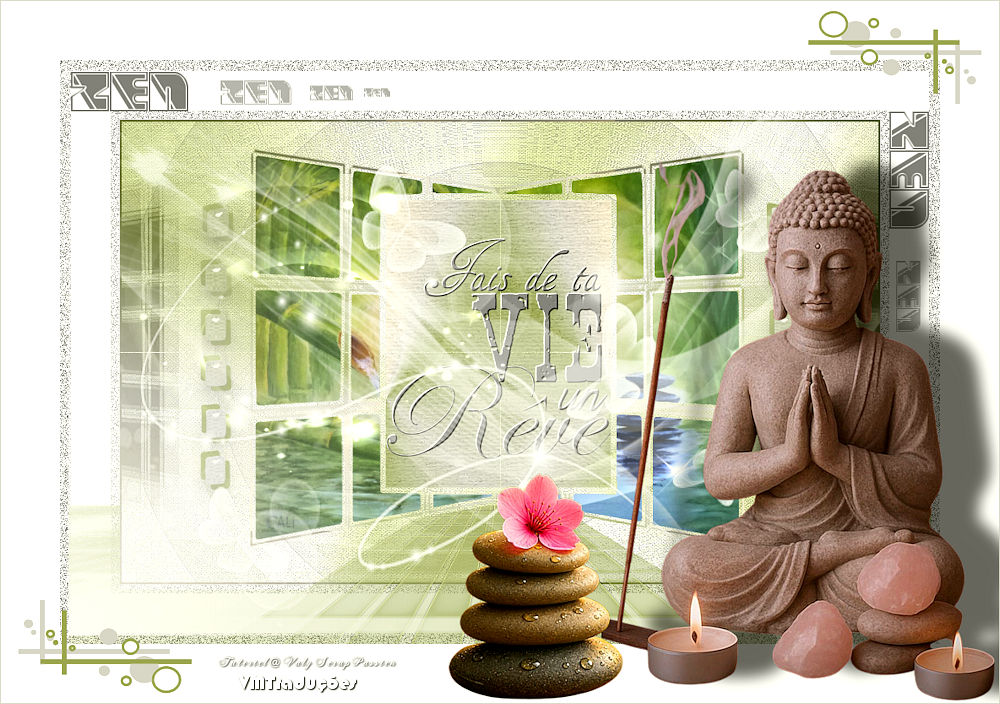
(minha versão)
Este tutorial é de Valy Scrap Passion a quem agradeço por me deixar traduzir seus tutoriais.
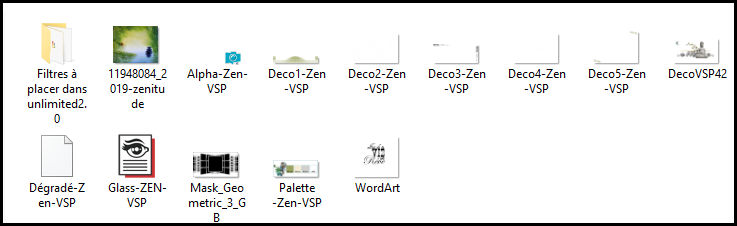
Material
AFS IMPORT - Eye Candy 5: impact - Unlimited 2 - Emboss - Kang 1 - Kang 2 - Kang 3 - Mock
ROTEIRO Imagens: 1 tube ligado ao tema 1 gráfico com paisagem *** Material
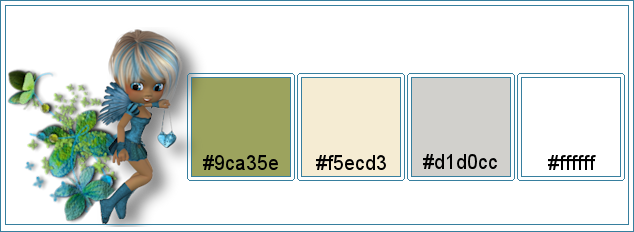
*** *** Salvar o gradiente [Dégradé-Zen-VSP] na ásta Gradients do PSP Clicar duas vezes no preset [para que seja instalado no plugin *** 1 Cores: Foreground: cor 1 - Background: cor 2
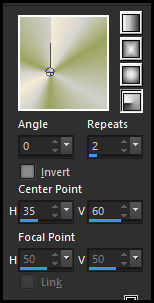
Abra o arquivo alpha channel [Alpha Zen VSP] Duplique (shift+d) - Feche o original Pinte a imagem com este gradiente [Zen VSP](no material) configurado conforme o print
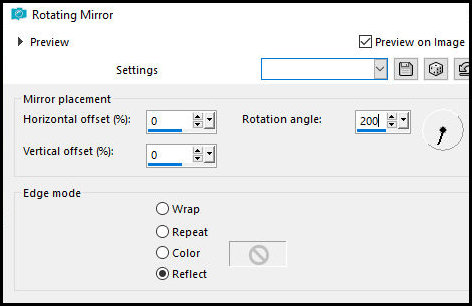
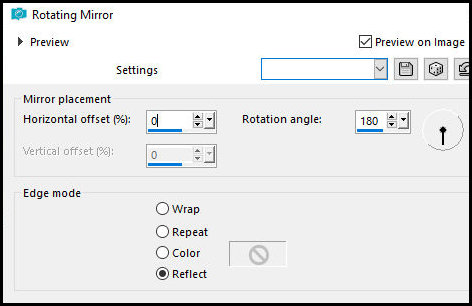
2 Effects - Reflection Effects - Rotating Mirror
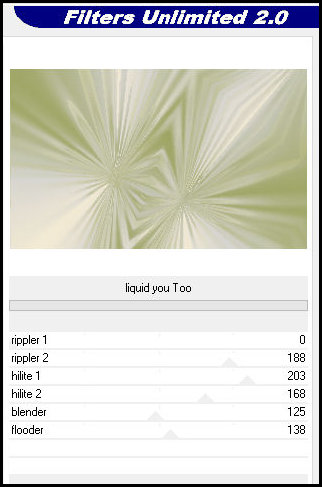
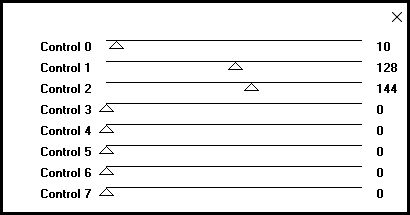
Effects - plugins - Unlimited 2 - Kang 3 - Liquid you Too
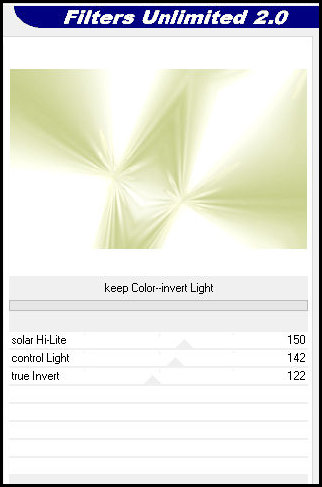
Effects - Plugins - Unlimited 2 - Kang 2 - Keep Color-invert Light
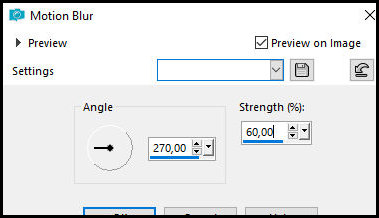
Adjust - Blur - Motion blur
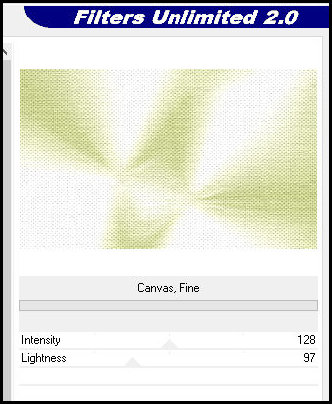
Effects - Plugins - Unlimited 2 - Paper Textures - Canvas, Size
3 Adicione nova layer Pinte com o gradiente Effects - Reflection Effects - Rotating Mirror
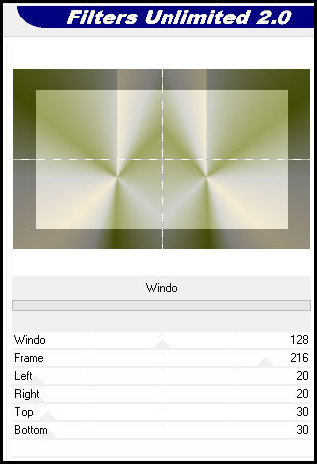
Effects - Plugins - Unlimited 2 - Mock - Windo
4 Layers - Load/Save mask from alpha channel - Mask [Mask Geometric 3 GB] Merge Group Selections - Load/Save selection from alpha channel - Selection 1 Adicione nova layer Copie o gráfico e paisagem [11948084_2019-zenitude] Cole na seleção Select none
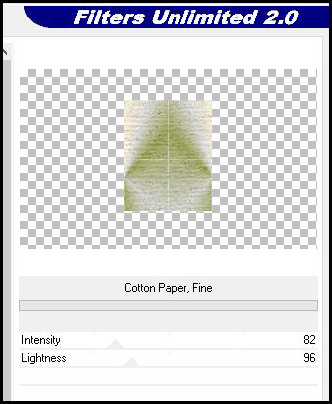
6 Ative a layer do meio [Group Raster 2) Selections - Load/Save selection from alpha channel - Selection 2 Selections - Promote selection to layer Select none Effects - Plugins - Unlimited 2 - Paper Textures - Cotton Paper, Fine
7 Ative a layer superior - Raster 2 Copie o Wordart Cole como nova layer Image - resize: 55% - all layers desmarcado Ative a Pick Tool (K) e configure: X=178 Y=46 Pressione M Effects - Plugins - Unlimited 2 - Emboss - Emboss Greyscale
8 Adicione nova layer Pinte com a cor 4 Layers - Load/Save from alpha channel - Mask [Narah mask 0546] Layers - Duplicate Merge group Blend Mode: Luminance (L)
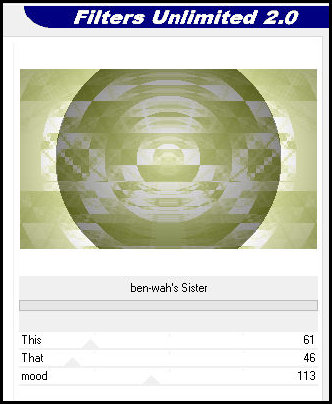
9 Ative a layer de fundo - Raster 1 Layers - Duplicate Effects - Plugins - Unlimited 2 - Kang 1 - ben-wah's Sister
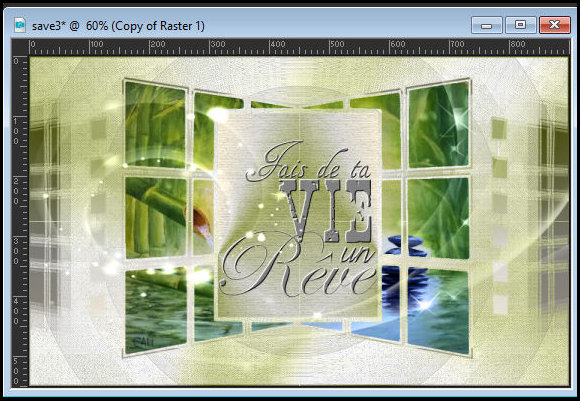
Blend mode: Multiply - Opacity: 20% Effects - Edge Effects - Enhance More Imagem e Layers - Resultado 1
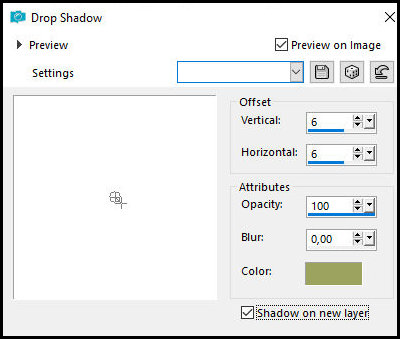
10 Ative a layer superior - Group Raster 4 Selections - Load / Save selection from alpha channel - Selection 3 Drop Shadow: 6 6 100 0 cor 1 - SHADOW ON NEW LAYER MARCADO
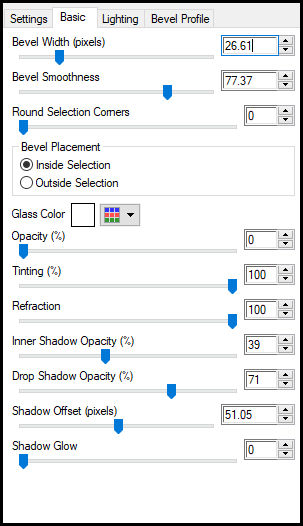
Drop Shadow: (-6) (-6) 100 0 COR 1 - SHADOW ON NEW LAYER MARCADO Mantenha a seleção 11 Ative a layer de fundo - Raster 1 Selections - Promote selection to layer Layers - Arrange - Bring to top Effects - Plugin - Eye Candy 5: Impact - Glass - Preset [Glass Zen VSP]
Select none Merge Visible
12 Image - Add borders - 1px - cor 3 Selections - Select all Image - Add borders - 10px - cor 4 Selections - Invert Effects - Plugins - AFS IMPORT - sqborder
13 Select6ions - Select all Image - Add borders - 60px - cor 4 Selections - Invert Effects - plugins - AFS IMPORT - sqborder - igual anterior Select none
14 Copie [Deco1 Zen VSP] Cole como nova layer Objects - Align - Bottom
15 Copie [Deco2 Zen VSP] Cole como nova layer
16 Copie [Deco3 Zen VSP] Cole como nova layer Ative a pick Tool (K) e configure: X=13 Y=14 Pressione M
17 Copie [Deco4 Zen VSP] Cole como nova layer
18 Image - Add borders - 70px - cor 4 Copie [Deco5 Zen VSP] Ative a layer superior Cole como nova layer
19 Copie [DecoVSP42]ole como nova layer Image - Resize: 60% - all layes desmarcado Ative a pick Tool (K) e configure: X=354 Y=467 Pressione m Adjust - Sharpness - Sharpen Drop Shadow: (-8) 57 60 25,00 preto
20 Merge all Image - Resize: 800px (width) - all layers marcado Adjust - Sharpness - Sharpen Image - Add borders - 1px - cor 3
21 Coloque os créditos Merge all Salve como jpeg
|