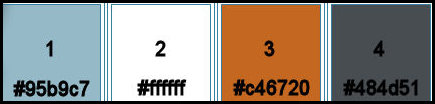
|
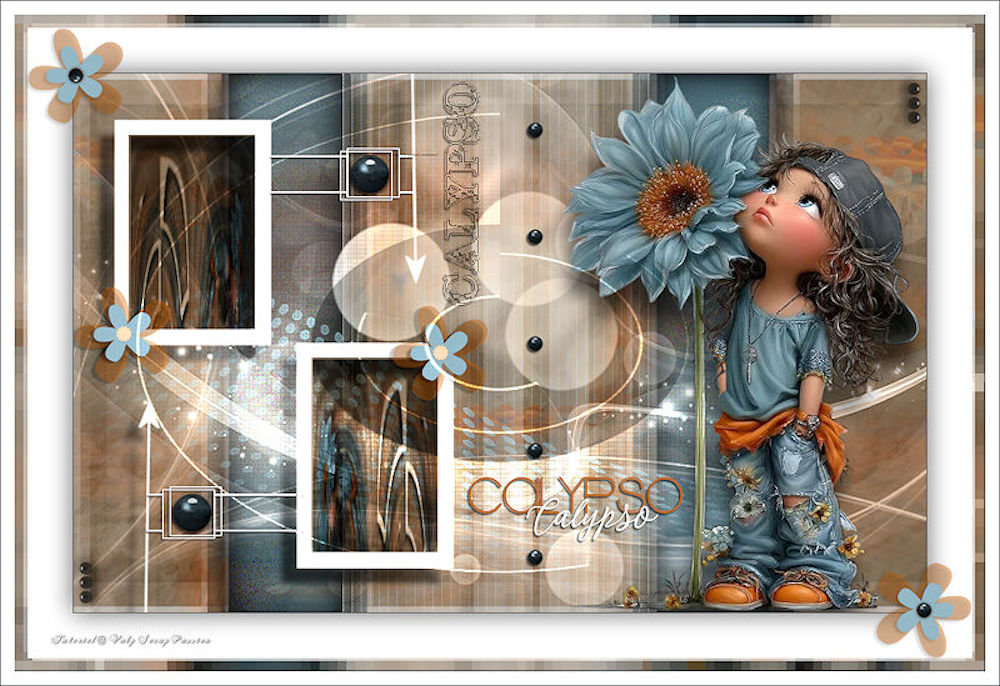
(imagem original VSP)
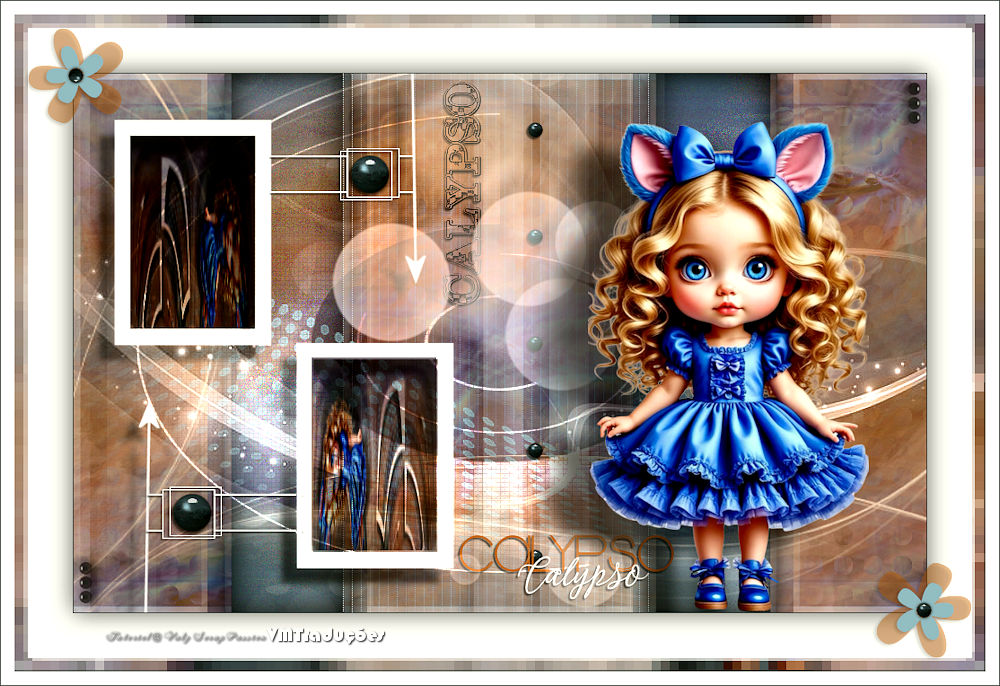
(minha versão)
Este tutorial é de Valy Scrap Passion a quem agradeço por me deixar traduzir seus tutoriais.
Material
Eye Candy 5: Impact - AP[Lines] - VanDerLee - Unlimited 2 - RCS Filter Pak 1.0
ROTEIRO Imagens usadas: 1 tube personagem *** *** Clique duas vezes no preset Eye Candy para instalar no plugins *** 1 Cores:Foreground: cor 1 - Background: cor 2
Abra o Alpha Channel [Alpha-Calypso-VSP] Duplique (shift+d) - Feche o original Pinte a imagem com a cor 1 Adicione nova layer Selections - Select all
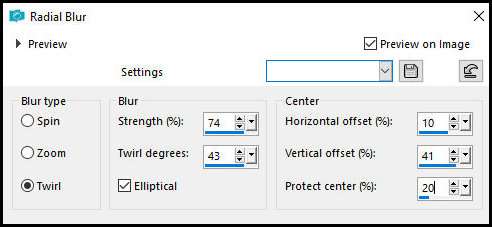
2 Copie o tube [Riet 1247-221125] Cole na seleção Select none Merge down Adjust - Blur - Radial Blur
3 Layers - Duplicate Image - mirror Horizontal Layers - Properties -opacity: 50% Merge down
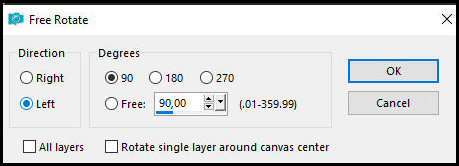
4 Layers - Duplicate Image - Free Rotate Left/90
Edit - Cut (ficará na memória) Selections - Select all Cole na seleção a imagem da memória Select none Layers - Properties - Opacity: 50% Merge down
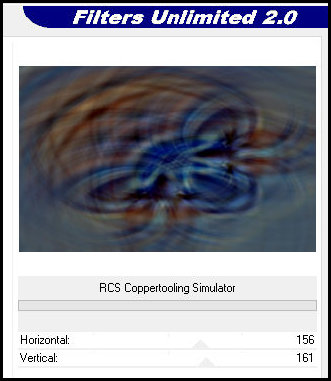
5 Effects - Plugins - unlimited 2 - RCS Filter Pak 1.0 - RCS Coppertooling Simulator
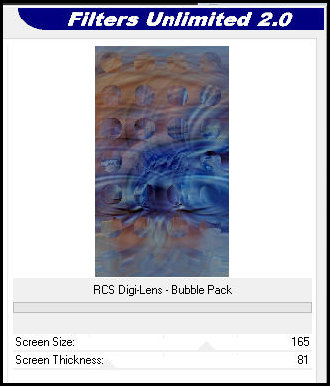
Adjust - One Step Photo Fix 6 Selections - Load selection from alpha channel - Selection 1 Selection - Promote selection to layer Effects - Plugins - Unlimited 2 - RCS Filter Pak 1.0 - RCS Digi-lens - Bubble Pak
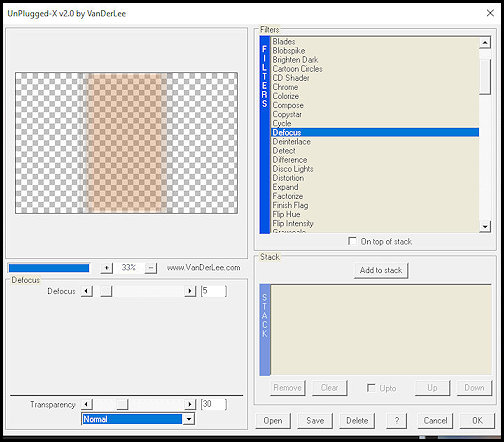
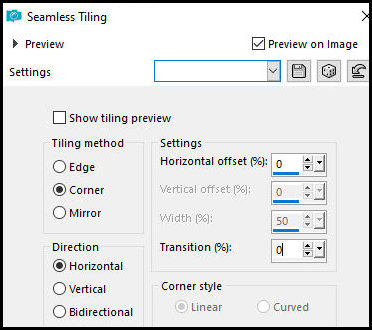
Select none Effects Image Effects - Seamless Tiling - default 7 Selections - Select all Adicione nova layer Copie [Fond-Fleurs-VSP] Cole na seleção Select none Layers - Properties - Blend mode: Luminance (L) - Opacity: 30% Merge visible 8 Adicione nova layer Pinte com a cor 2 Layers _ load mask from alpha channel - Mask [Narah-Mask_0781] Layers - duplicate Merge group 9 Adicione nova layer Selections - Load selection from alpha channel - Selection 1 novamente Pinte com a cor 2 Selectins - Modify - Contract: 6 Pressione Delete Ative a Flood Fill(baldinho) coloque Opacity=45 Pinte a seleção com a cor 3 Retorne a opacity=100 Select none 10 Effects - Plugins - VanderLee - Unplugged-X - Defocus
Effects - Image Effects - Seamless Tiling
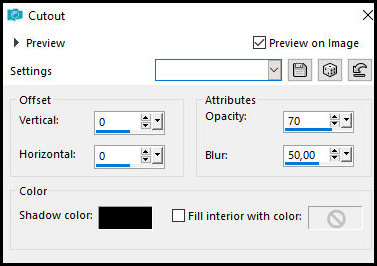
11 Selections - Load selection from alpha channel - Selection 2 Effects - 3D Effects - cutout
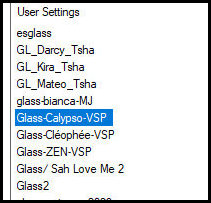
Effects - Plugins - Eye Cady 5: impact - Glass - Preset [Glass-Calypso-VSP]
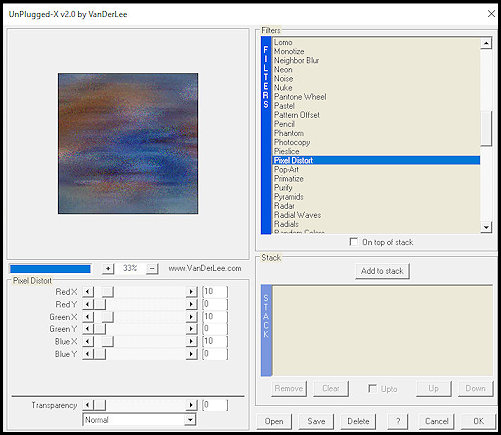
Ative layer inferior - Merged Effects - Plugins - VanDerLee - Unplugged-X - Pixel Distort
12 Ative a layer superior - Raster 1 Selections - Load selection from alpha channel - Selection 1 novamente Effects - Plugins - AP[Lines] - SilverLining
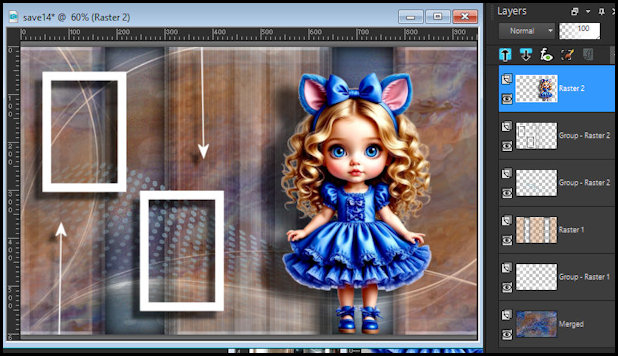
Select none 13 Adicione nova layer Pinte com a cor 1 Layers - Load mask from alpha channel - Mask [VSP287] Effects - Edge Effects - Enhance Merge group 14 Adicione nova layer Pinte com a cor 2 Layers - Load Mask from alpha channel - Mask [NarahsMasks-1579] Merge group Ative a Pick Tool (K) - Configure: X=(-196) Y=0 - Pressione M Drop Shadow: 17 (-17) 60 10 preto 15 Copie o tube [Riet 1247-221125] Cole como nova layer Image - Resize: 80% - all layers desmarcado Pick Tool (K) - X=543 Y=1 - Pressione M Drop shadow: 26 (-52) 60 30,00 preto Imagens e layers estarão assim:
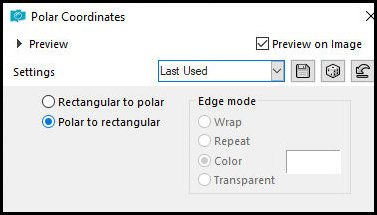
16 Edit - Copy Special - Copy Merged (ficará na memória) Adicione nova layer Selections - Load selection from alpha channel - Selection 3 Cole na seleção a imagem da memória Effects - Distortion Effects - Polar Coordinates
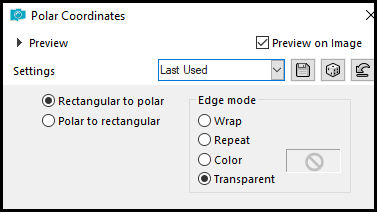
Select none Layers - Properties - blend mode: Multiply 17 Layers - Duplicate Pick Tool (K) - X=265 Y=316 pressione M Image - Flip - Flip horizontal Merge down 18 Copie o tube [deco1 Calypso VSP] Cole como nova layer Pick Tool (K) X=128 Y=0 Pressione M Layers - Arrange - Move Down - 2 vezes 19 Copie o tube [Deco2-Calypso-VSP] Ative a layer superior Cole como nova layer Pick Tool (K) - X=2 Y=237 Pressione M Drop Shadow: 2 (-5) 60 2 preto 20 Adicione nova layer Pinte com a cor 2 Layers - Load mask from alpha channel - Mask [VSP217] effects - Edge Effects - enhance Merge group Blend Mode: Luminance (L) Layers - Arrange - Move Down - 3 vezes 21 Copie o tube [Deco3-Calypso-VSP] Ative a layer superior Cole como nova layer Pick tool (K) X=82 Y=53 Pressione M Drop shadow: 2 (-2) 60 2 preto 22 Copie o tube [Titre-Calypso-VSP] Cole como nova layer Pick Tool (K) - X=410 - Y=9 - Pressione M 23 Adicione nova layer Pinte com a cor 2 Layers - Load mask from alpha channel - Mask [Narah-Mask-1386] Merge group Effects - Distortin Effects - Polar Coordinates
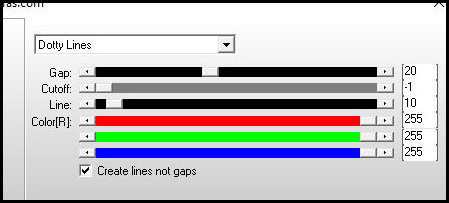
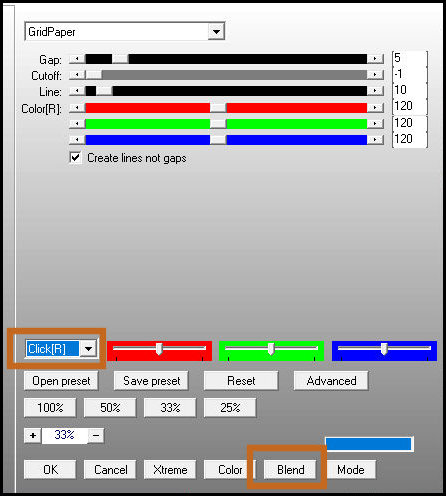
Effects - Plugins - AP [Lines] - SilverLining Observação: Clique no botão Blend e procure a opção (Click (R)) se não aparecer na lista, clique no botão BLEND, embaixo, até que ela apareça
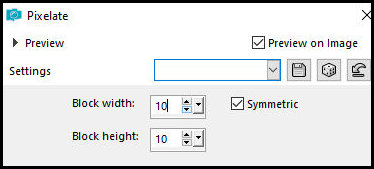
Blend Mode: Dodge 24 Copie o tube [Deco4-Calypso-VSP] Cole como nova layer 25 Copie o tube [Titre2-Calypso-VSP] Cole como nova layer Pick Toll (K) - X=440 - Y=448 - Pressione M Drop Shadow: 2 (-2) 60 2 preto 26 Image - Add borders - 1px - cor 4 Copie (ficará na memória) Selections - Select all 27 Image - Add borders - 50px - cor 2 Drop Shadow: 0 0 60 40 preto 28 Selections - Select all Image - Add borders - 15px - cor 2 Selections - invert Cole na seleção a imagem da memória Effects - Distortion Effects - Pixelate
Select none Image - Add borders - 15px - cor 2 29 Copie o tube [Deco5-Calypso-VSP] Cole como nova layer Drop Shadow: 2 (-3) 40 5 preto Image - Add borders - 1px - cor 4 30 Image - Resize: 800px (width) - all layers marcado Adjust - Sharpness - Sharpen 31 Coloque os créditos Merge all Salve como jpeg
|