|
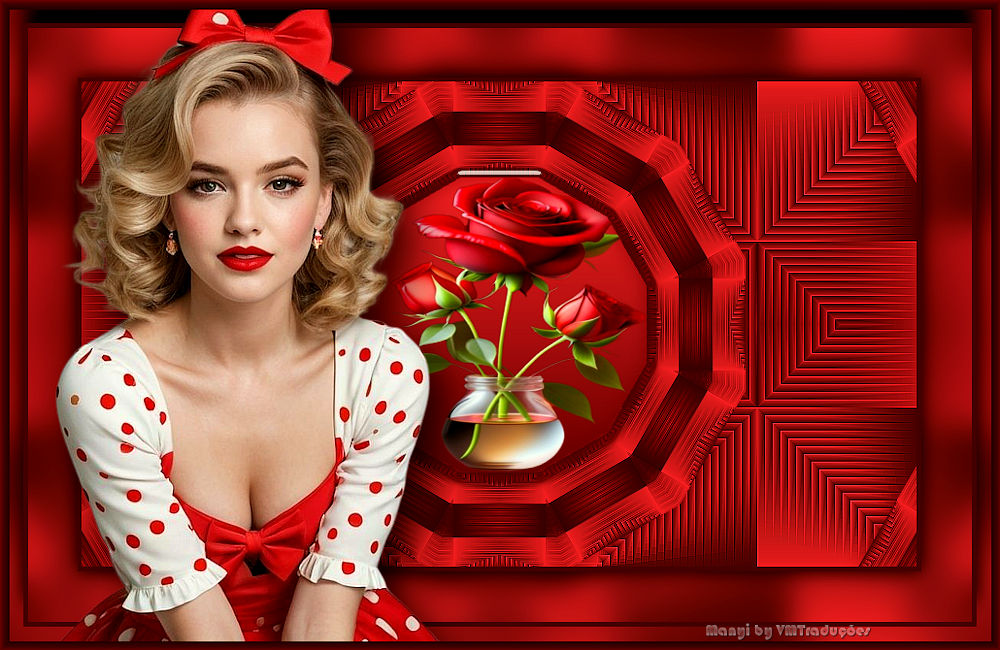
1a. Original
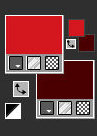
Colors
1b. Open a new transparent image
measuring 860/500px
1c. Open a folder and name it: gmic-brigitta
2. Set the color #d41820 to the foreground and the color
#4a0001 to the background
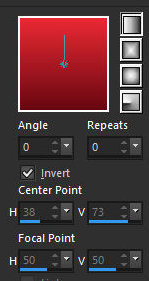
3. Prepare this Linear Gradient
3b. Paint the image with it.
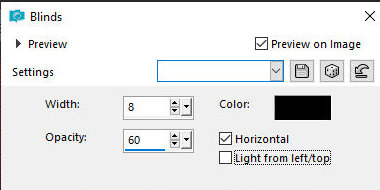
4. Effects / Texture Effects / Blinds
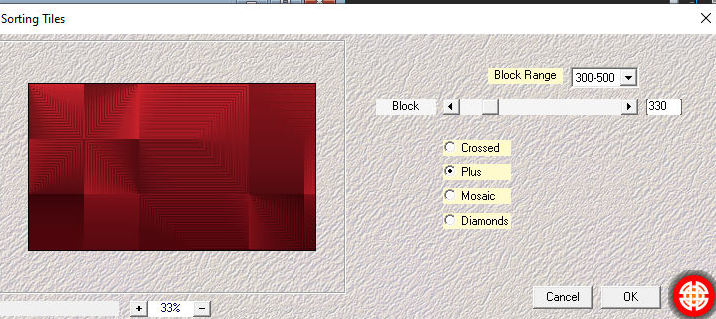
5. Effects / Plugins / Mehdi / Sorting
Tiles
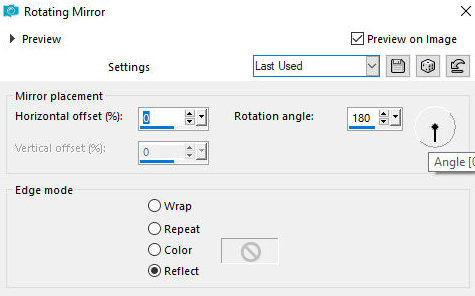
6. Effects / Reflection Effects /
Rotating Mirror
7. Image / Rotate Left
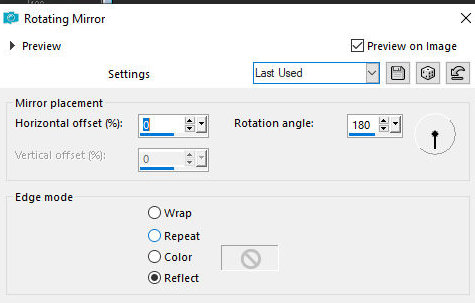
8. Effects / Reflection Effects / Rotating Mirror
9. Image / Rotate Right
10. Effects / Edge Effects / Enhance
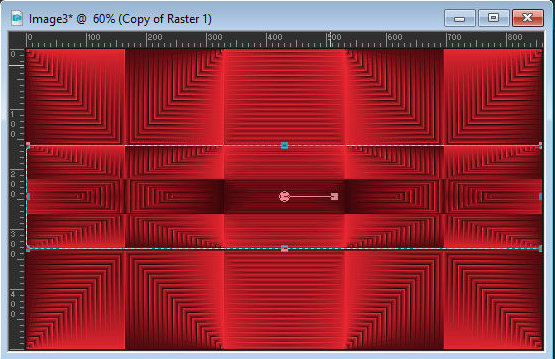
11. Layers / Duplicate
12. Activate the Pick Tool
13. Click the top center node and drag it down to a
height of 160px
14. Click the bottom center node and drag it up to a
height of 330px
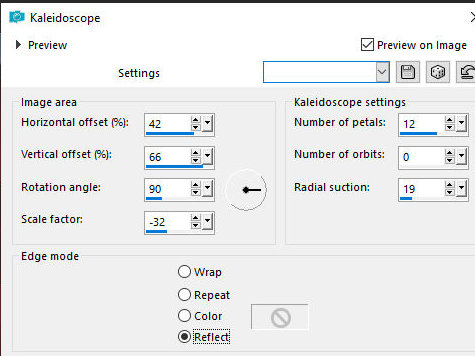
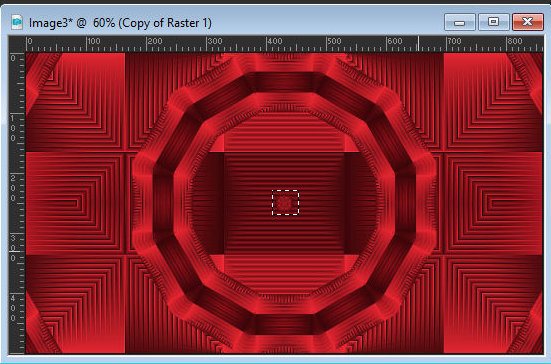
15. Effects / Reflection Effects /
Kaleidoscope
16. Select the small square in the
middle and delete it.
17. Select none.
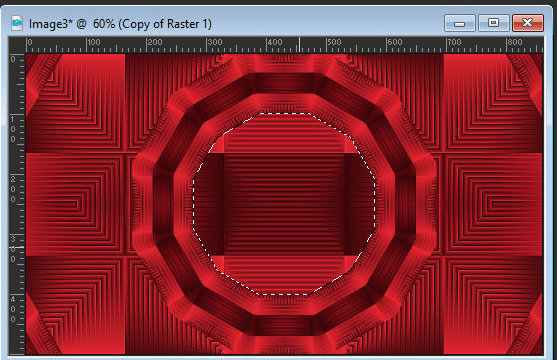
18. Select the center of the circle with the Magic Wand
(tolerance/feather=0).
19. Add a new layer.
20. Paint the layer with the gradient.
21. Copy the tube from Flower
22. Paste into selection
23. Layers / Arrange / Move down
24. Activate the top layer
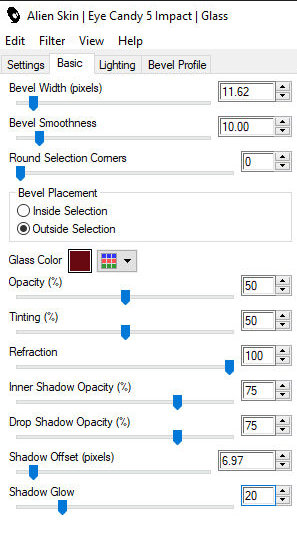
25. Effects / Plugins / Eye Candy 5: Impact / Glass /
Preset: Water, Outside selection
26. Delete the selected part of the
center of the circle 27. Select none
28. Drop Shadow: 0 0 60 30 #463256
29. Merge visible
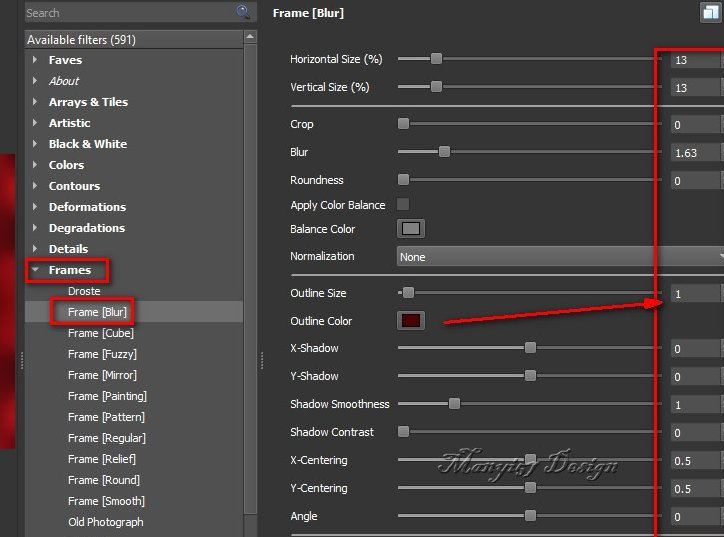
30. Effects / Plugins / GMIC / GMIC QT / Frames (Frame
Blur)
31. Return to the PSP and save the
image in the gmic-brigitta folder with the number 31
32. Open image 31 on the PSP (delete the other image or
save to delete after you're done)
33. Effects / Plugins / GMIC / GMIC QT / Frames (Frame
Blur) with this other setting
34. Return to the PSP and save the
image in the gmic-brigitta folder with the number 34
35. Open image 34 in PSP (delete or save the other image)
36. Copy the Main Tube
37. Paste as a new layer
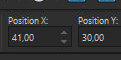
38. Activate the Pick Tool and set: X=41.00 - Y=30.00 (position
according to your tube)
39. Adjust / Sharpness / Sharpen
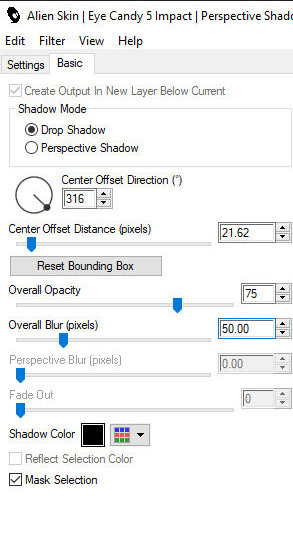
40. Effects / Plugins / Eye Candy 5: Impact /
Perspective shadow
41. Merge all
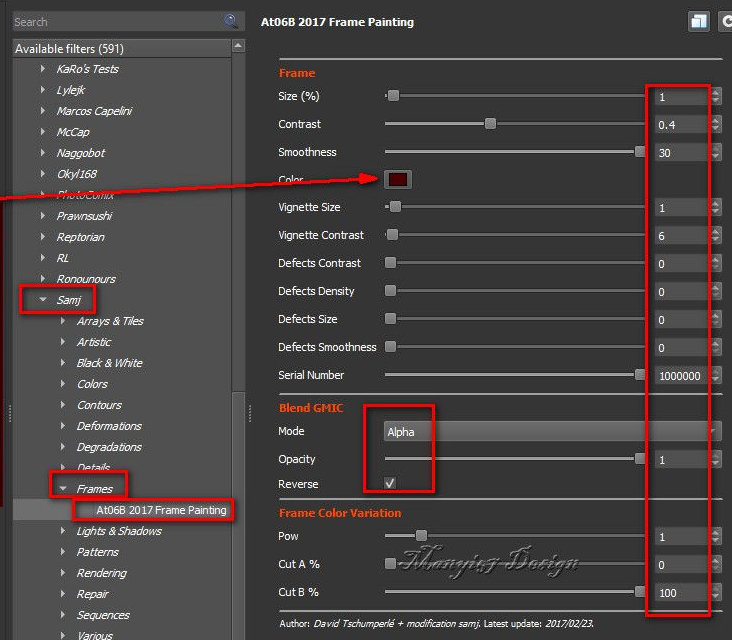
42. Effects / Plugins / GMIC / GMIC QT / Testing / Samj
/ Frames / AT06b2017 Frame Painting
43. Image / Resize: 950x618px (optional)
44. Add signatures
45. Merge all
46. Save as a jpeg |