| You will need:
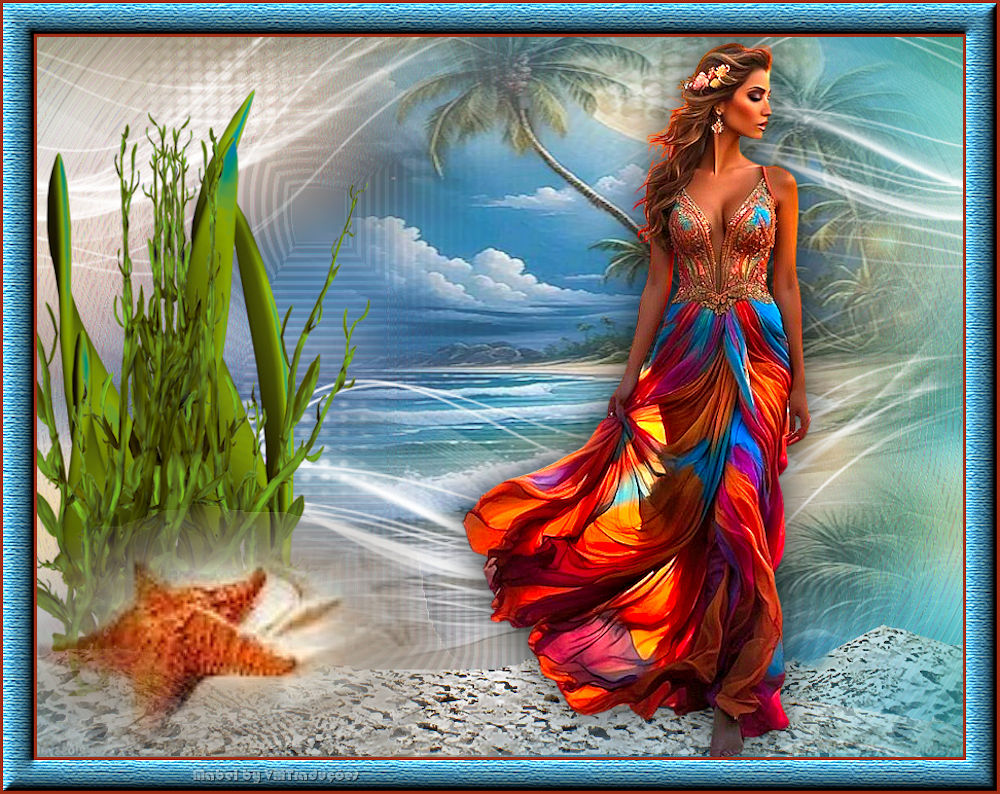
1 main tube
1 jpeg image (landscape/floral)
*
1. Open a new transparent image with
900x700 resolution
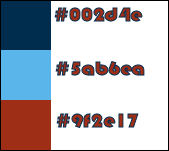
2. Original colors: Foreground: #002d4e - Background:
#5ab6ea
3. Prepare a rectangular gradient
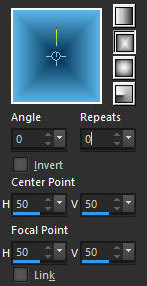
4. Paint the image with the gradient
5. Selections / Select all
6. Copy the landscape jpg image
7. Paste it into the selection
8. Select none
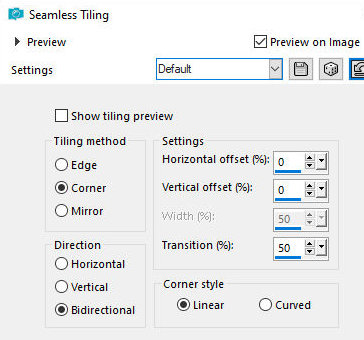
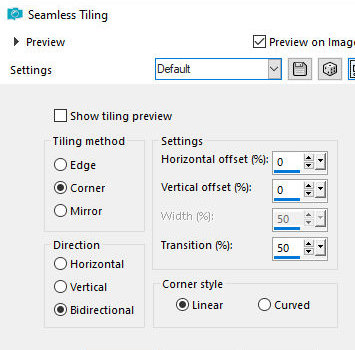
9. Effects / Image Effects / Seamless Tiling - default
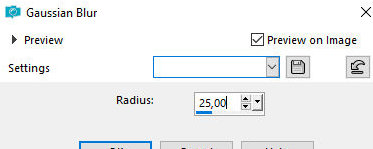
10. Adjust / Blur / Gaussian Blur: 25
11. Add a new layer
12. Paint with the gradient
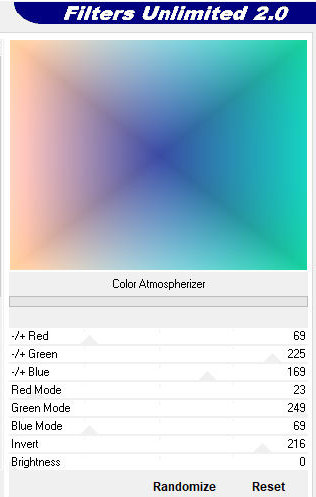
13. Effects / Plugins / Unlimited 2 / & Sandflowers
Special V / Color Atmospherizer
14. Layers / Properties / Blend Mode: Soft Light
15. Merge down
16. Copy the tube [Deco ondas_mabel]
17. Paste it as a new layer
18. Effects / Edge Effects / Enhance more
19. Open the jpg image in PSP
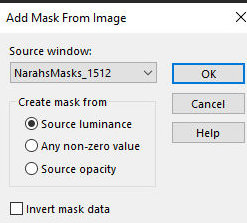
20. Layers / New mask layer / From image / Mask [MASK
2021] - 2 times
21. Merge Group
22. Copy this image
23. Return to the main image
24. Paste as a new layer
25. Position as per model
26. Add a new layer
27. Paint with white
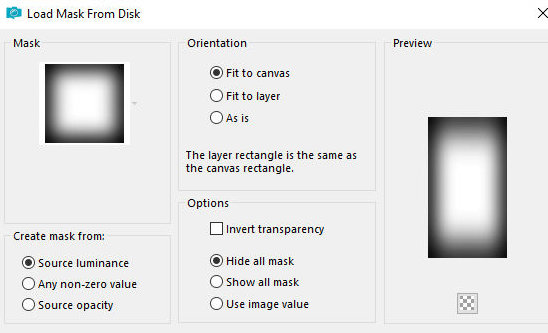
28. Layers / New Mask layer / From image / Mask
[NarahsMasks_1512]
29. Merge group
30. Layers / Duplicate
31. Effects / Image Effects / Seamless Tiling - default
32. Merge down
33. Layers / Properties / Blend Mode: Hard Light
34. Copy the [arena] tube
35. Paste as a new layer
36. Position below as per model (Objects / Align /
Bottom)
37. Copy the [algae] tube
38. Paste as new layer
39. Image / Resize: 75% - all layers unchecked
40. Position to the left as per model
41. Layers / Arrange / Move down
42. Copy the [star] tube
43. Paste as new layer
44. Position as per model
45. Layers / Arrange / Bring to top
46. Drop Shadow: 0 0 80 65 black
47. Copy the main tube
48. Paste as new layer
49. Image / Resize: 80% - all layers unchecked
50. Drop shadow: 0 0 80 65 black
51. Position as per model
52. Border:
3px / #9f2e17
30px / white
53. Select this 30px border with the Magic Wand (tolerance/feather-0)
54. Paint the selection with the background color
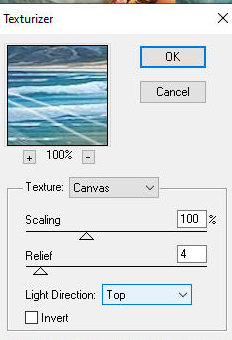
55. Effects / Plugins / Texture / Texturizer
56. Reapply the Texturizer
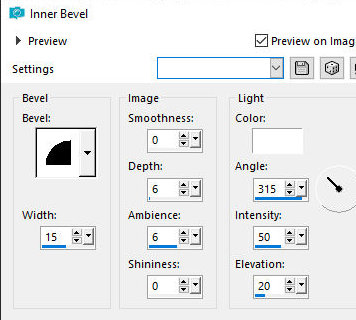
57. Effects / 3D Effects / Inner Bevel
58. Select none
59. Border: 3px / #9f2e17
60. Add signatures
61. Merge all
62. Save as jpeg
|