|
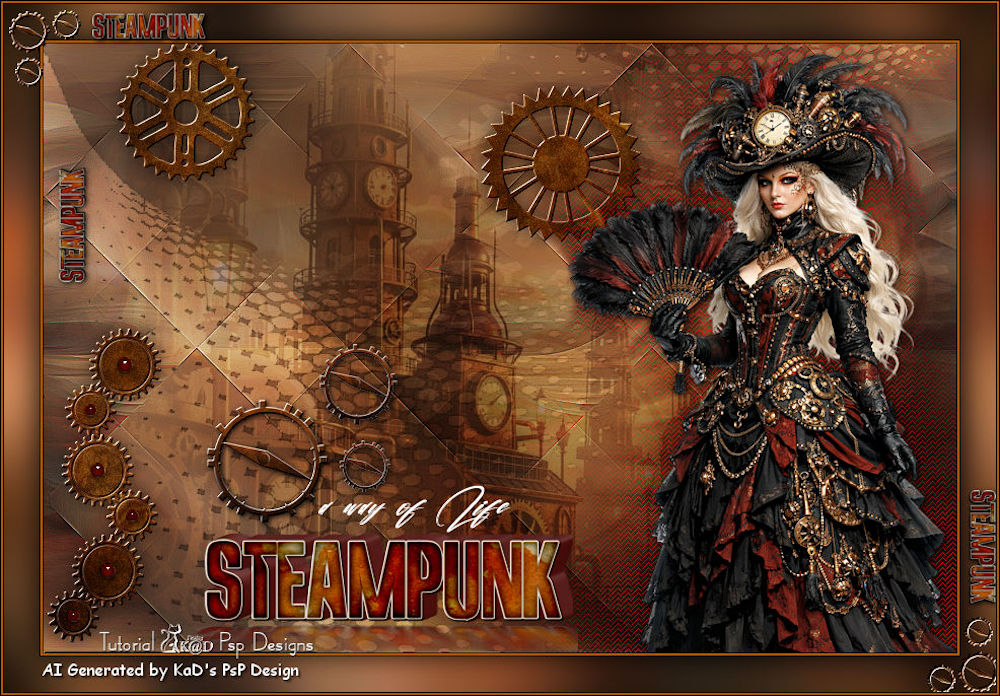
(Imagem original de KaDsPspDesign)
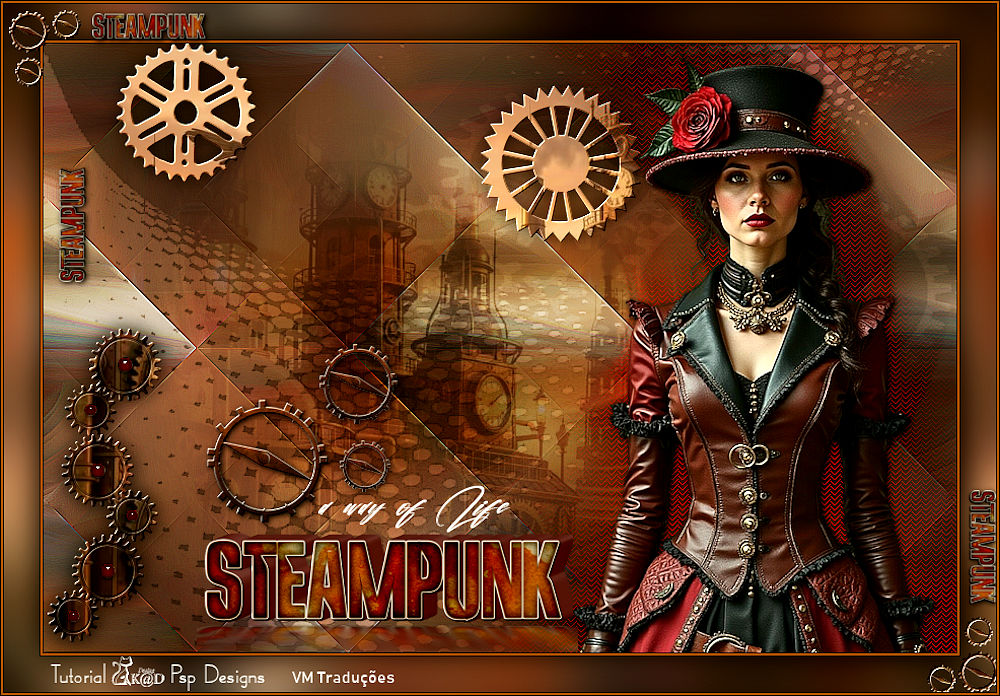
(minha versão)
Este tutorial é de KaDs PSP Design a quem agradeço por me deixar traduzir seus tutoriais.
-
Material
Mehdi - Mura's Seamless - Eye Candy 5: Impact - AP 01 [Innovations] - Simple - Tramages
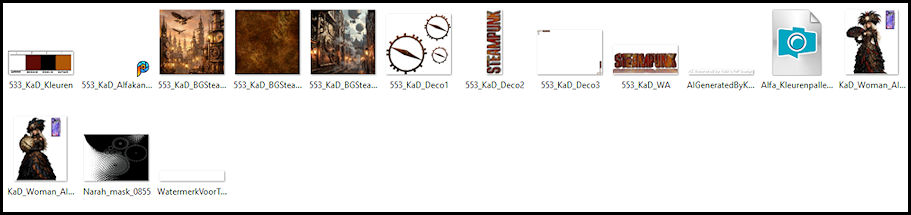
ROTEIRO Imagens usadas: 1 tube feminino 1 paisagem *** Material
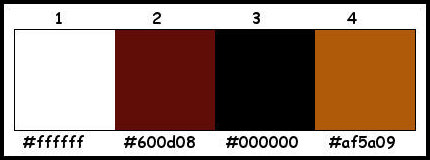
*** *** 1 Cores: Foreground: cor 1 - Background: cor 2
Abra o arquivo [553 KaD Alfakanaal] Duplique (shift +d) / Feche o original 2 Selections - Select all Copie [553 KaD BGSteampunk] Cole na seleção Select none
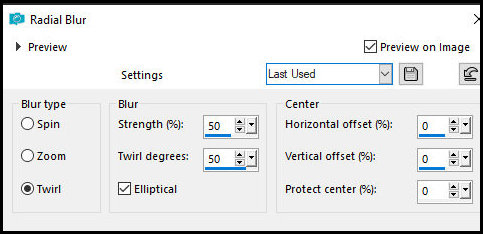
3 Effects - Image Effects - Seamless Tiling - Default com Transition=100 Adjust - Blur - Gaussian Blur: 30 4 Adicione nova layer Selections - Select all Copie [KaD Woman ATGenerated 319] Cole na seleção Select none 5 Adjust - Blur - Radial Blur
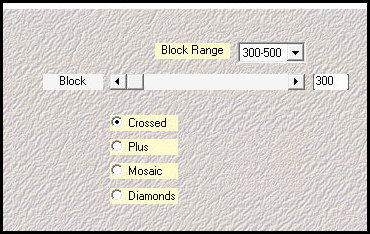
Effects - Image Effects - Seamless Tiling - igual anterior Merge down Effects - Plugins - Mehdi - Sorting Tiles
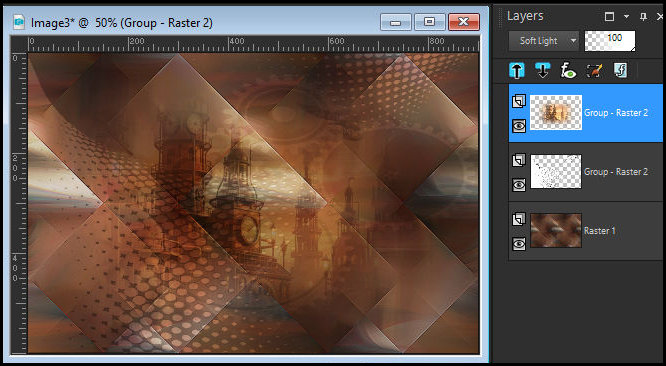
6 Effects - Edge Effects - Enhance More 7 Effects - Image Effects - Seamless Tiling - Coloque Direction=horizontal 8 Adicione nova layer Pinte com a cor do foreground Layers - New Mask layer - From image - Mask [Narah-mask-0855] Merge group Blend mode: Overlay - Opacity:50% 9 Effects - Mura's Seamless - Emboss at Alpha - default 10 Effects - Edge Effects - Enhance 11 Copie [553-KaD-BGSteampunk] Cole como nova layer Layers - Load mask from disk - Mask [20 20] Layers - Duplicate Merge group 12 Image - Mirror - Mirror Horizontal Blend Mode: soft light Resultado 1
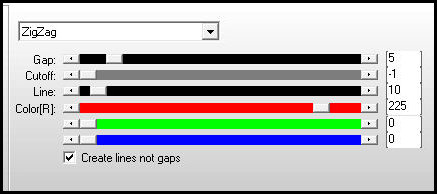
13 Selections - Load selection from alpha channel - Selection 1 Copie [553-KaD-BGSteampunk] Cole como nova layer Selections - Invert Pressione Delete 14 Select none Effects - Plugins - Mura's Seamless - Emboss at Alpha - default Drop Shadow: 0 0 60 25 preto 15 Selections - Load selection from alpha channel - Selection 2 Copie [553-KaD-BGSteampunk2] Cole como nova layer Objects - Align - Left Selections - Invert Pressione Delete 16 Select none Effects - Plugins - Mura's Seamless - Emboss at Alpha - Default Drp shadow: 0 0 60 25,00 preto 17 Adicione nova layer Selections - Load selection from alpha channel - Selection 3 Pinte a seleção com a cor do background Effects - Eye Candy 5: Impact - Glass - Preset [clear] - default Select none 18 Layers - Duplicate Blend mode: dodge Merge down - 2 vezes Drop shadow: 0 0 60 25 preto 19 Copie [KaD-Woman-AIGenerated-319] Cole como nova layer Image - Resize: 47% - all layers desmacado Pick Tool (K): X=516 Y=9 Pressione M Adust - Sharpness - unsharp ask [2 30 2 - desmarcado] 20 Layers - Duplicate Adjust - Blur - Radial Blur - igual anterior Effects - Plugins - AP 01 [Innovations] - SilverLining
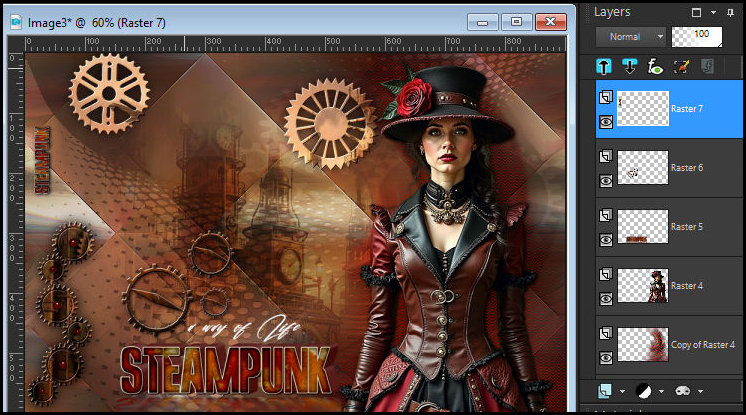
Blend mode: hard Light Layers - Arrange - Move down 21 Ative a layer superior Effects - Plugins - Eye Candy 5: Impact - Perspective Shadow - Preset [Drop Shadow, Lowest] 22 Copie [553-KaD-WA] Cole como nova layer Pick Tool (K): X=151 Y=435 Pressione M 23 Copie [553-KaD-Deco1] Cole como nova layer Pick Tool(K): X=161 Y=296 Pressione M Effects - Eye Candy 5: impact - Perspective Shadow - igual anterior 24 Copie [553-KaD-Deco2] Cole como nova layer Pick Tool(K): X=15 Y=121 Pressione M Effects - Plugins - Eye Candy 5: Impact - Perspective Shadow - igual anterior Resultado 2/3
25 Selections - Select all Image - Add borders - 1px - preto Copie (ficará na memória) Select none 26 Image - Add borders - 2px - cor 4 Image - Add borders - 1px preto Selections - Select all 27 Image - Add borders - 35px - cor 4 Selections - Invert Cole na seleção a imagem que está na memória Effects - Plugins - Simple - Quick Tile 28 Adjust - Blur - Gaussian Blur:30 Effects - Plugins - Tramages - Pool Shadow - default 29 Selections - invert Drop shadow: 0 0 80 40 preto Select none 30 Copie [553-KaD-Deco3] Cole como nova layer Pick Tool(K): X=5 Y=3 Pressione M 31 Image - Add borders - 1px - preto Image - Add borders - 2px - cor 4 Imae - Add borders - 1px- preto 32 Coloque sua assinatura Coloque a assinatura de Kads Se usou tubes de Kads coloque este texto: "AIGeneratedAndTubedBy 33 Merge all Image - Resize: 900px (width) Adjust - Sharpness - unsharp Mask [2 30 2 desmarcado] Salve como jpeg
|