|

This tutorial is from Grafica PerGioco who I thank for
letting me translate their tutorials.

Original here

Tubes

Material

My images:
Here
Plugins
Unlimited 2 - Distortion Filters -
Eye Candy 5: Impact
You can find these plugins on the websites of:
Renée
Cloclo
You can also find this tutorial translated into these languages:
(Click on the flag)


|
Notes:
> Open the material / Duplicate (shift+d) / Close the originals
> Change the blend mode of the layers to match their colors.
> In older versions of PSP, Mirror Horizontal=Mirror / Mirror Vertical=Flip /
Pick tool=deformation
> Open the masks in psp and
minimize
>Adjust the size of the tubes according to your images
|
SCRIPT
Required Images:
1 female tube
2 floral tubes
*
Step 1
01. Open the background [sfondo]/ Duplicate (shift+d) / Close the
original
02. In this step you can color according to your colors
03. Selections/ Select all
04. Selections / Modify / Contract: 20px
==20

05. Selections / Invert
06. Add a new layer
07. Paint with the dark color #5e564b
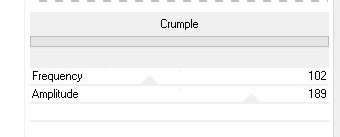
08. Effects / Plugins / Distortion Filters / Crumple - default
==default
09. Effects / Edge Effects / Enhance more
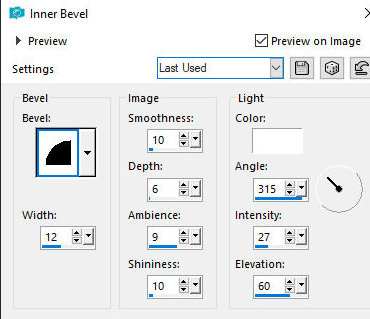
10. Effects / 3D Effects / Inner Bevel
==
Step 2
11. Selections / Invert
12. Add a new layer
13. Copy the misted floral tube
14. Paste it into the selection
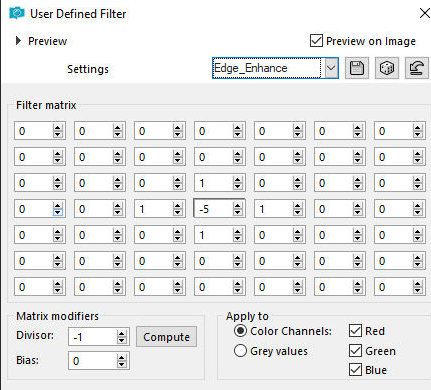
15. Effects / User Defined Filter - preset [Edge-Enhance](preset on
material)
==
16. Select none
Step 3
17. Activate the Raster 2 layer (the mixed one)
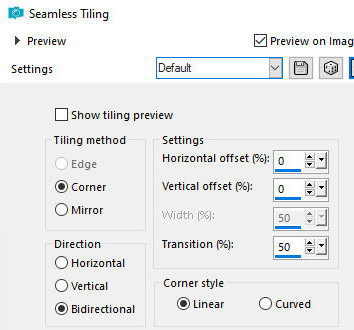
18. Effects / Image Effects / Seamless Tiling - default
==
19. Layers / Arrange / Move down
20. . Copy the frame [Collab_Celebration_part1 (44)]
21. Image / Resize: 50% - all layers unchecked
22. Activate the Pick tool and configure: X=530,00 - Y=91,00 - Press
M
Step 4
23. Activate the frame layer
24. Layers / Duplicate
25. Rename the layers of the two frames to C1 and C2
26. Click with the Magic Wand (tolerance/feather=0) inside the frame
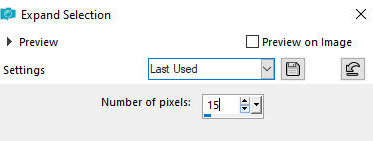
27. Selections / Modify / Expand: 15
28. Activate the Raster 2 layer
29. Add a new layer
30. Copy and paste a misted floral image into the selection
31. Activate the C1 layer
32. Add a new layer
33. Copy and paste another misted floral image into the selection
34. Select none
Close this C2 and Raster 4 layer
Step 5
35. Activate layer C1
36. Click inside the frame with the Magic Wand
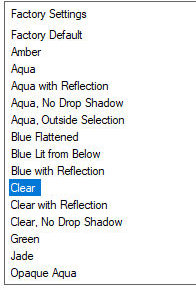
37. Effects / Plugins / Eye Candy 5: Impact / Glass - preset [Clear]
==
38. Drop shadow: 2 2 50 100 black
40. Stay on the frame layer
41. Merge down
42. Close this layer by clicking on the eye
43. Open layers C2 and raster 4 and activate layer C2
44. Click inside the frame with the Magic Wand
45. Effects / Plugins / Eye Candy 5: Impact / Glass - preset [clear]
==
46. Drop shadow: 2 2 50 100 black
47. Select none
48. Stay on the frame layer
49. Merge down
Step 6
50. Copy your main tube and paste it as a new layer
51. Position it to the left
52. Adjust the Size
53. Apply a Drop Shadow of your choice.
54. If you don't want to animate, position the two frames as desired.
You can adjust the size
55. Add the signatures
Merge all
Save as jpeg
TO MAKE THE ANIMATION
Close layers C1 and C2 (of the frames)
Edit / Copy Special / Copy Merged
Open Animation Shop (AS)
Edit / Paste / As new animation
Animation / Insert Frames Empty
== 15 2 10 des x

Return to PSP
Open and activate layer C1 (Raster 3)
Copy
Return to AS
Edit / Paste / As New animation
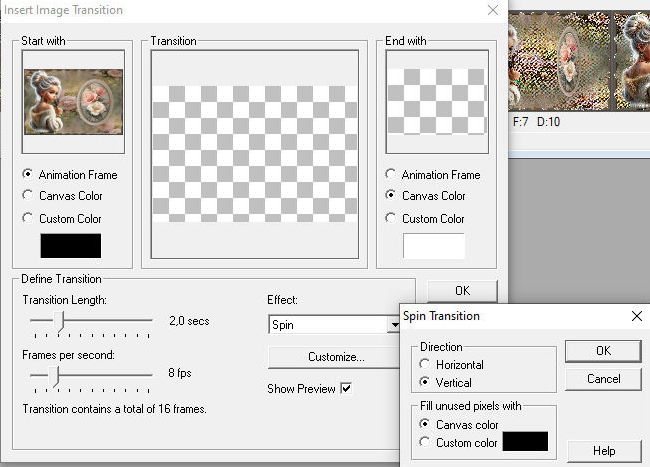
Effects / insert image transition - effect: spin
==
You will now have 17 frames in this second animation
Select frames 9 to 17 and delete them
You will now have 8 frames
Return to PSP
Close layer C1
Activate and open layer C2 (raster 4)
Copy
Return to AS
Edit / paste / as new Animation Effects / Insert Image Transition -
Effect: Spin - Same as Previous
==same
You will now have 17 frames in this third animation. Select frames 9
to 17 and delete them. You will now have 8 frames.
Edit / Select All Animation / Reverse Frames
With the frames still selected, copy them. Activate Frame C1. Select
frame 8 and paste: edit/paste/after current frame
In this second animation, check if you now have 16 frames. Edit /
Copy
Go to the first animation (main tag). It should have all frames
selected. Edit / Paste / into selected frame
Click in the desired location. View your animation: View / Animation
Animation / Frame Properties: display time: 10

File / Save us / Locate the folder where you will save the animation
/ Name it / Save / Click Next 3 times / Finish

|