|
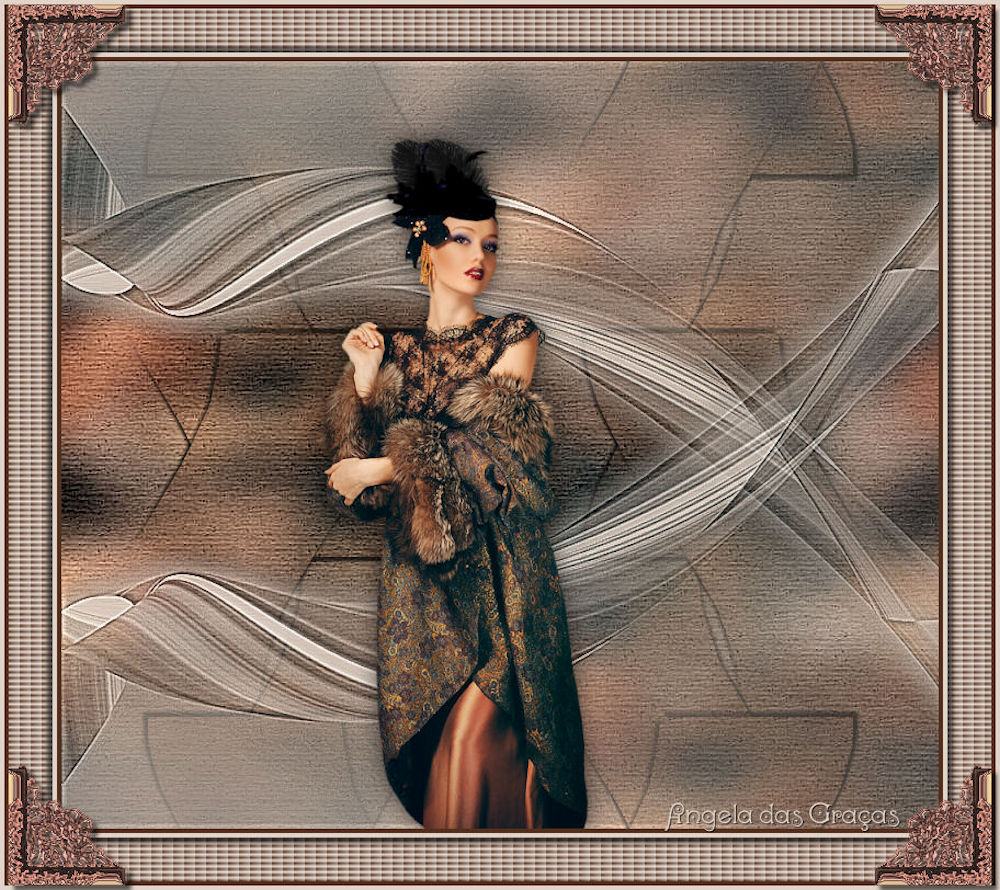
(imagem orginal de Angela)
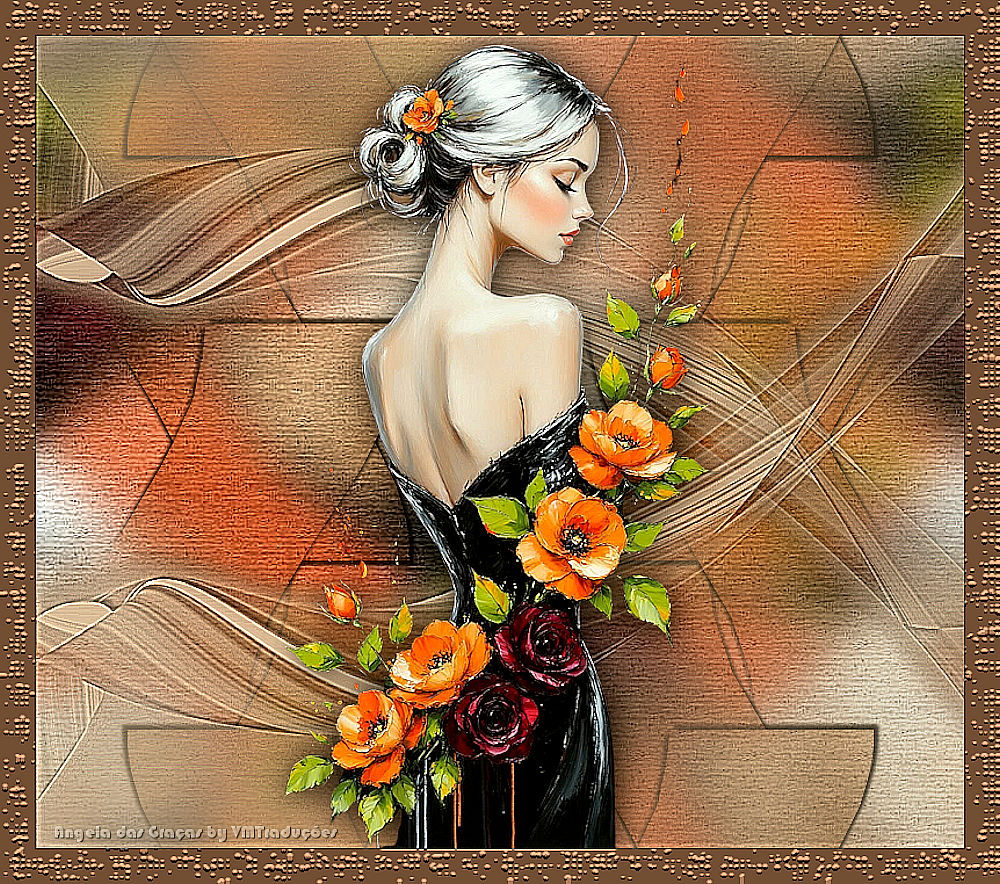
(minha versão)

This tutorial is from Angela das Graças who I thank for
letting me translate their tutorials.

Original here
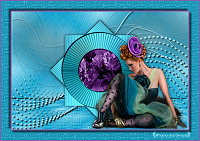
Tubes

Material

Plugins
Unlimited 2 / Paper Textures
You can find these plugins on the websites of:
Renée
Cloclo
|
Notes:
> Open the material / Duplicate (shift+d) / Close the originals
> Change the blend mode of the layers to match their colors.
> In older versions of PSP, Mirror Horizontal=Mirror / Mirror Vertical=Flip /
Pick tool=deformation
> Open the masks in psp and
minimize
>Adjust the size of the tubes according to your images
|
ROTEIRO
Images:
1 female tube
***
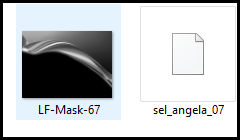
Material
***
My Images
***
Save the selection [sel_angela_07]
in the PSP Selections folder
***
1. Choose two colors from your tube, place a dark color in the
foreground and a light color in the background
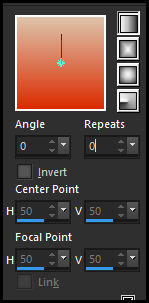
2. Prepare a Linear gradient
print
3. Open a transparent image with 800x700px
4. Paint with the gradient
5. Selections / Select all
6. Copy your main tube and paste it into the selection
7. Select none
8. Effects / Image Effects / Seamless Tiling - Default
9. Adjust / Blur / Gaussian Blur: 20
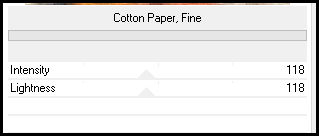
10. Effects / Plugins / Unlimited 2 / Paper Textures / Cotton Paper
print
11. Adjust / Sharpness / Sharpen
More
12. Add a new layer
13. Selections / Load selection from disk / Selection [sel-angela-07]
14. Paint the selection with the light color
15. Select none
16. Effects / Plugins / Unlimited 2 / Paper Texture /Cotton Paper -
same as above
17. Drop Shadow: 4 4 60 4 black
18. Drop Shadow: -4 -4 60 4 black
19. Layers/Duplicate
20. Image / Mirror / Mirror Vertical
21. Merge down
22. Layers/Duplicate
23. Image / Mirror / Mirror Horizontal
24. Merge down
25. Effects / Image Effects / Seamless Tiling - default
26. Blend mode: Multiply
27. Add new layer
28. Paint with light color
29. Layers New Mask layer / From Image / Mask [LF-Mask-67]
30. Merge group
31. Drop shadow: 4 4 60 4 black
32. Effects / Edge Effects / Enhance More
33. Layers/Duplicate
34. Image/Mirror Vertical
35. Copy the tube main
36. Paste as a new layer
37. Adjust the size
38. Position as desired
39. Drop shadow of your choice
40. Add a border of your choice
41. Paste decorative tubes of your choice (optional)
42. Add credits
43. Merge all
44. Save as jpeg

|